Brushes
Liquify
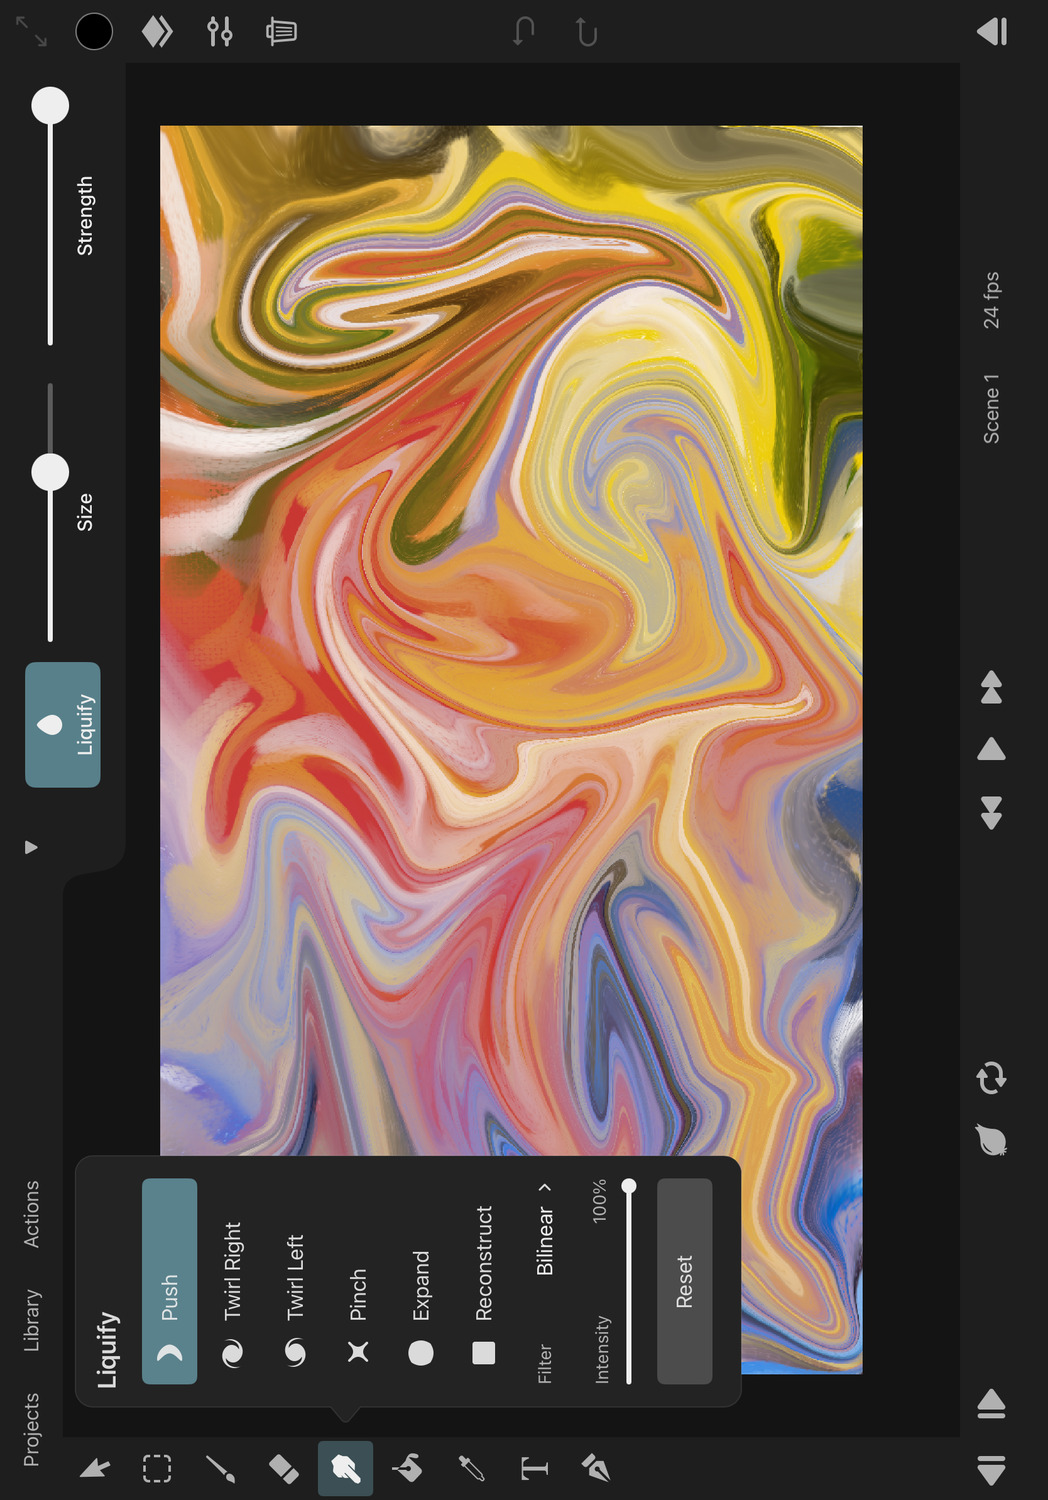
The Liquify mode of ToonSquid's smudge tool allows you to use brush strokes to warp and distort the contents of a pixel layer.
Enable Liquify#
To enable the liquify behaviour of the smudge tool:
- Make sure that you have a pixel layer selected.
- Select the smudge tool.
- Tap on the
Liquifybutton in the smudge tool options if it is not already highlighted.
Note#
The liquify mode operates on pixels. If you don't see the
Liquifybutton in the smudge tool options, make sure that you have a pixel layer selected. Other layer types can be converted into pixel layers using the Rasterize action.
Liquify vs Smudge#
By default, when you use the smudge tool on a pixel layer, it will pick up the colors from the surface and smear them around as you drag your brush, as if you were using a wet mix brush without any color of its own.
When Liquify is enabled, the tool instead warps and distorts the pixels in the layer without mixing their colors. All of these edits are nondestructive while the layer and the Liquify mode remain selected. This means that you can change the intensity of the liquify effect and even locally reconstruct the original pixels completely until you are happy with the result. Only once you switch to another layer or tool or disable the Liquify mode in the smudge tool are the liquify edits destructively applied to the pixel layer.
Liquify allows you to achieve various unique effects, but it is also very useful for making fine adjustments to the proportions of your raster drawings without smearing their contents.
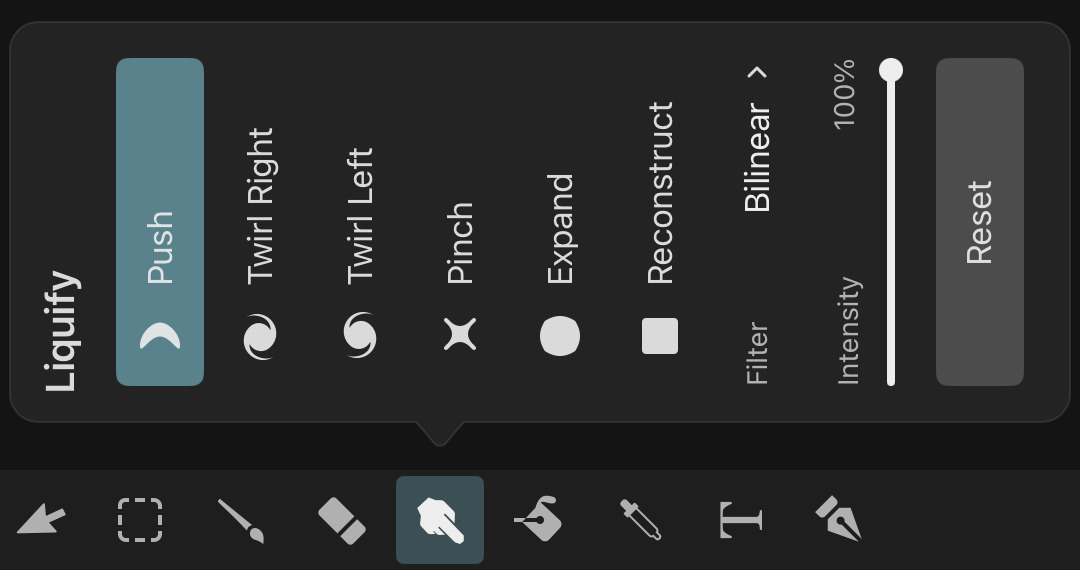
Tool Options#

In addition to the size and strength sliders at the top, the Liquify mode of the smudge tool provides a range of additional settings you can use to customize the behaviour of the liquify effect. To access these settings, tap on the smudge tool button in the sidebar.
Note that this does not open the brush library, since Liquify does not use regular brush settings. The liquify "brush" always has a round area of effect with its highest intensity in the center and a smooth falloff towards the edges.
Modes#
The kind of edit that is performed for each liquify brush stroke depends on the selected mode.
Push#
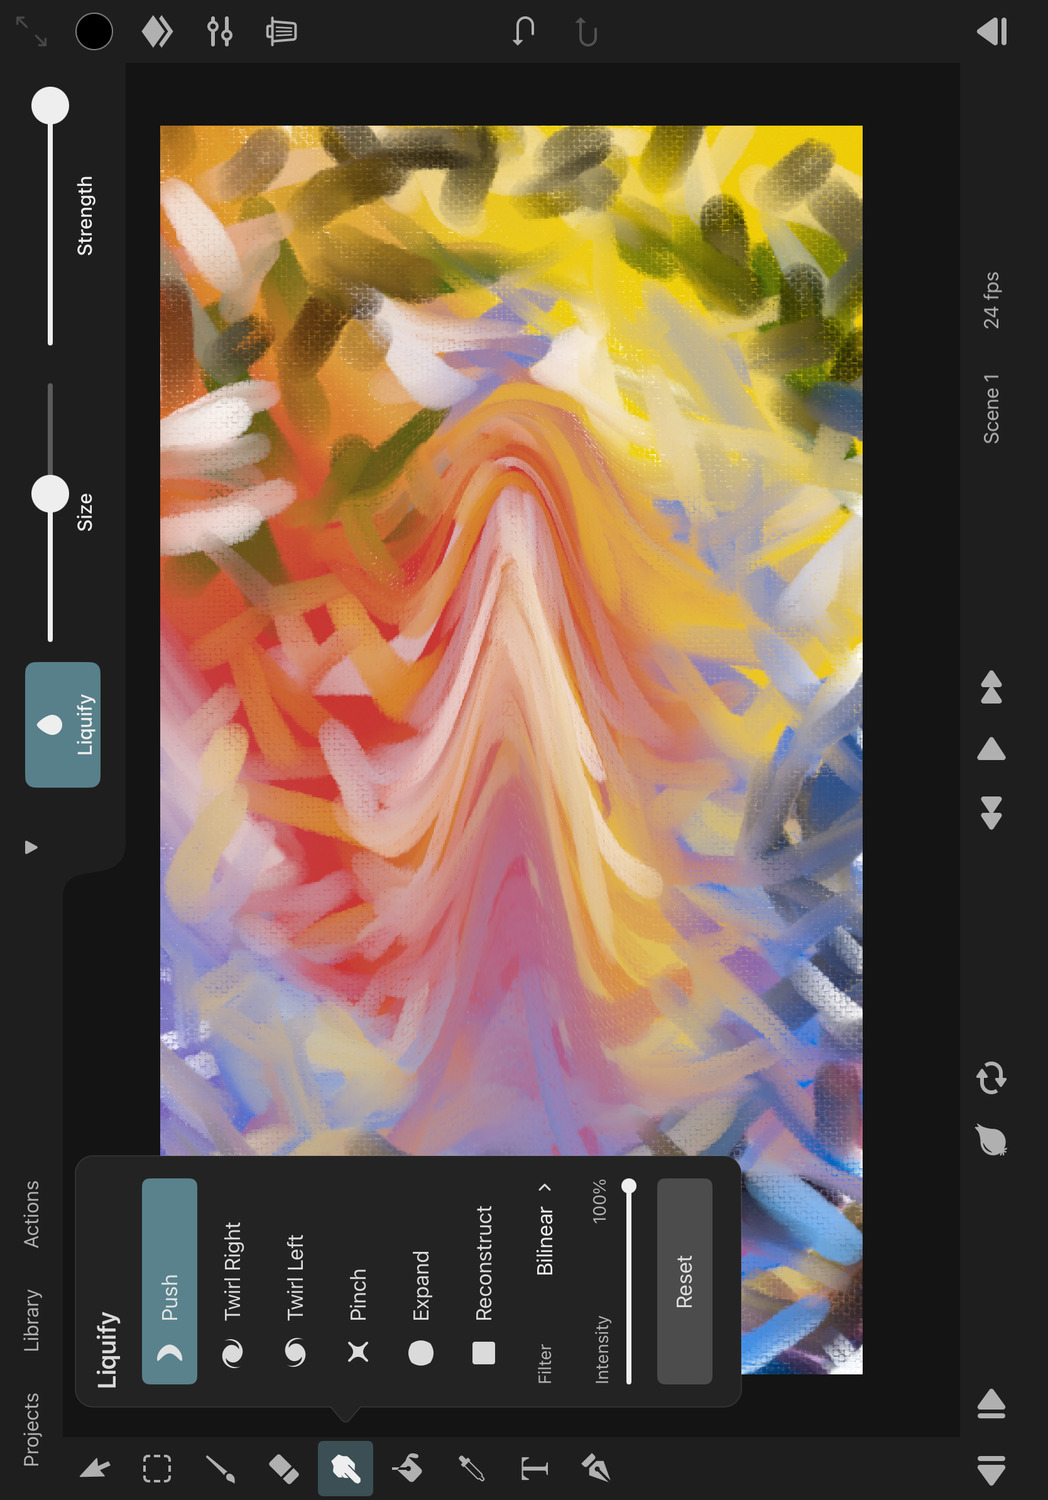
With the Push mode, the pixels in the layer are pushed in the direction of your brush stroke. This is the default mode and is useful for general warping and distortion.
Twirl Right / Left#
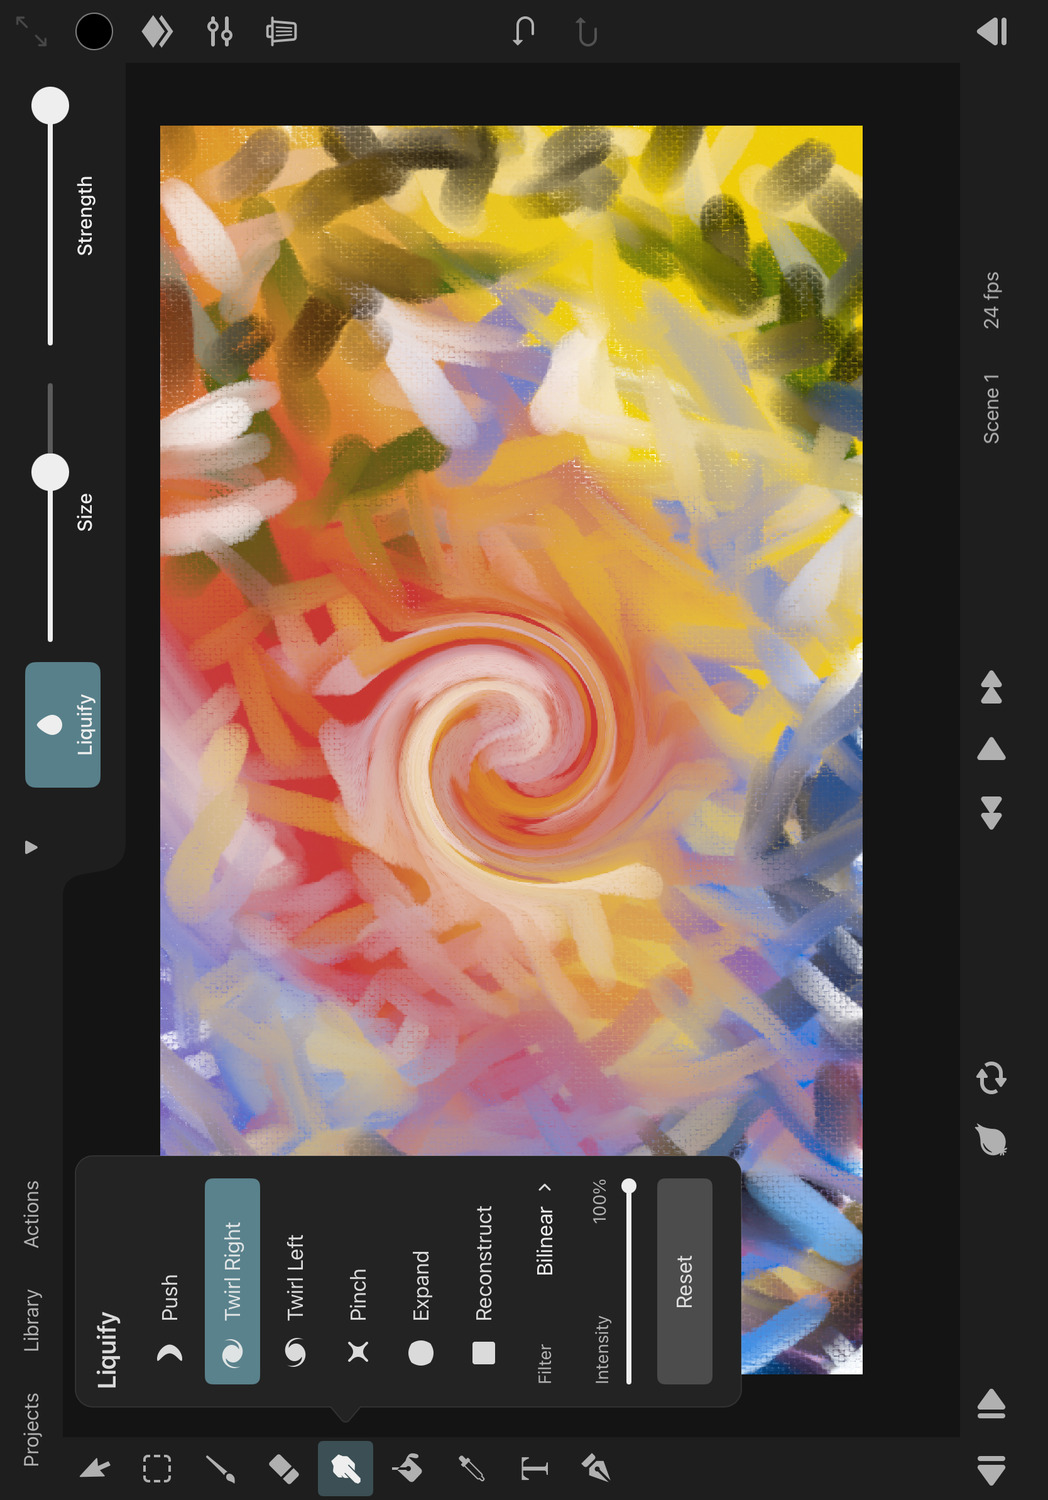
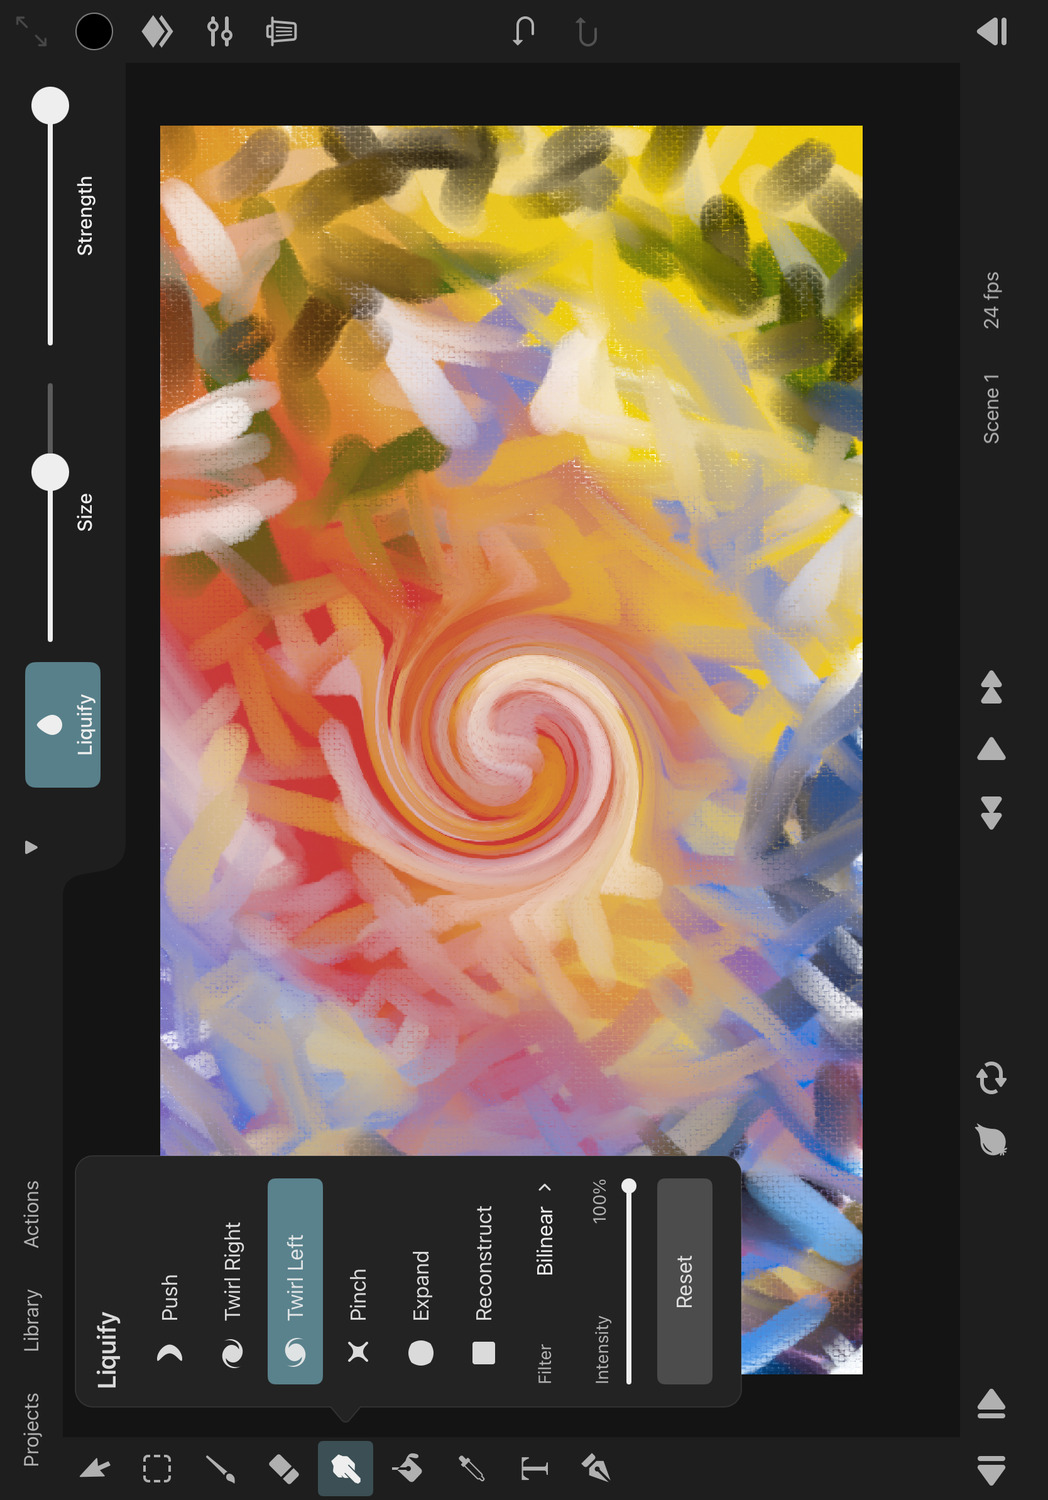
The Twirl Right and Twirl Left modes rotate the pixels in the layer around the center of the brush stroke, either clockwise or counterclockwise.
Pinch#
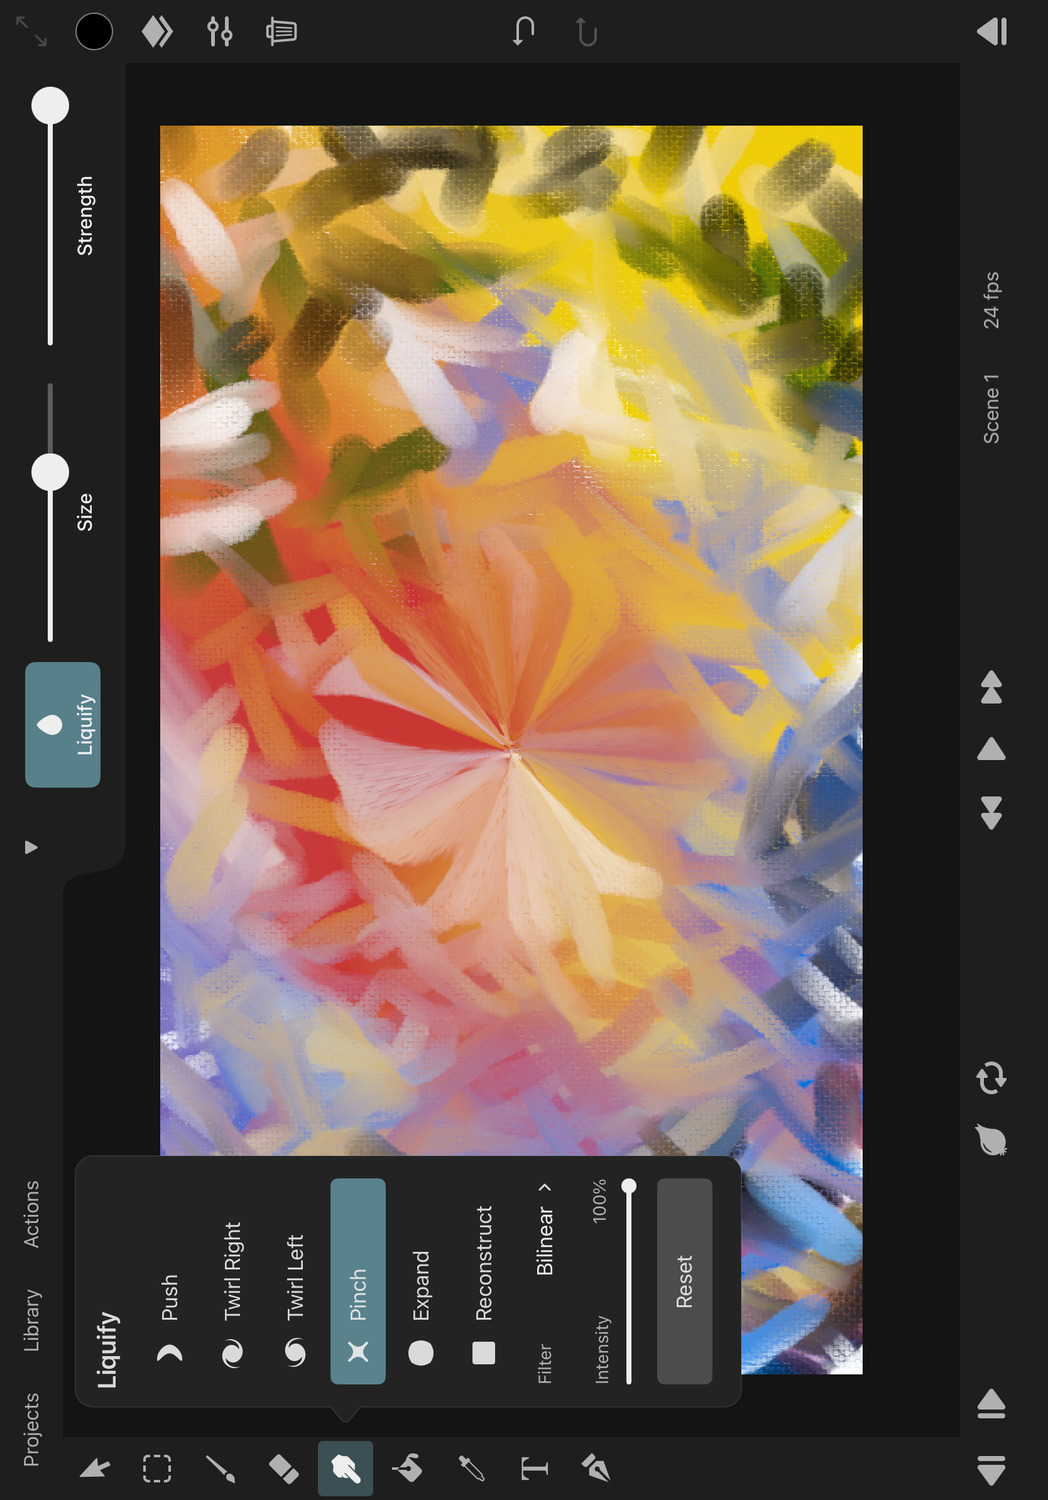
The Pinch mode pulls the pixels in the layer towards the center of the brush stroke, creating a pinching effect.
Expand#
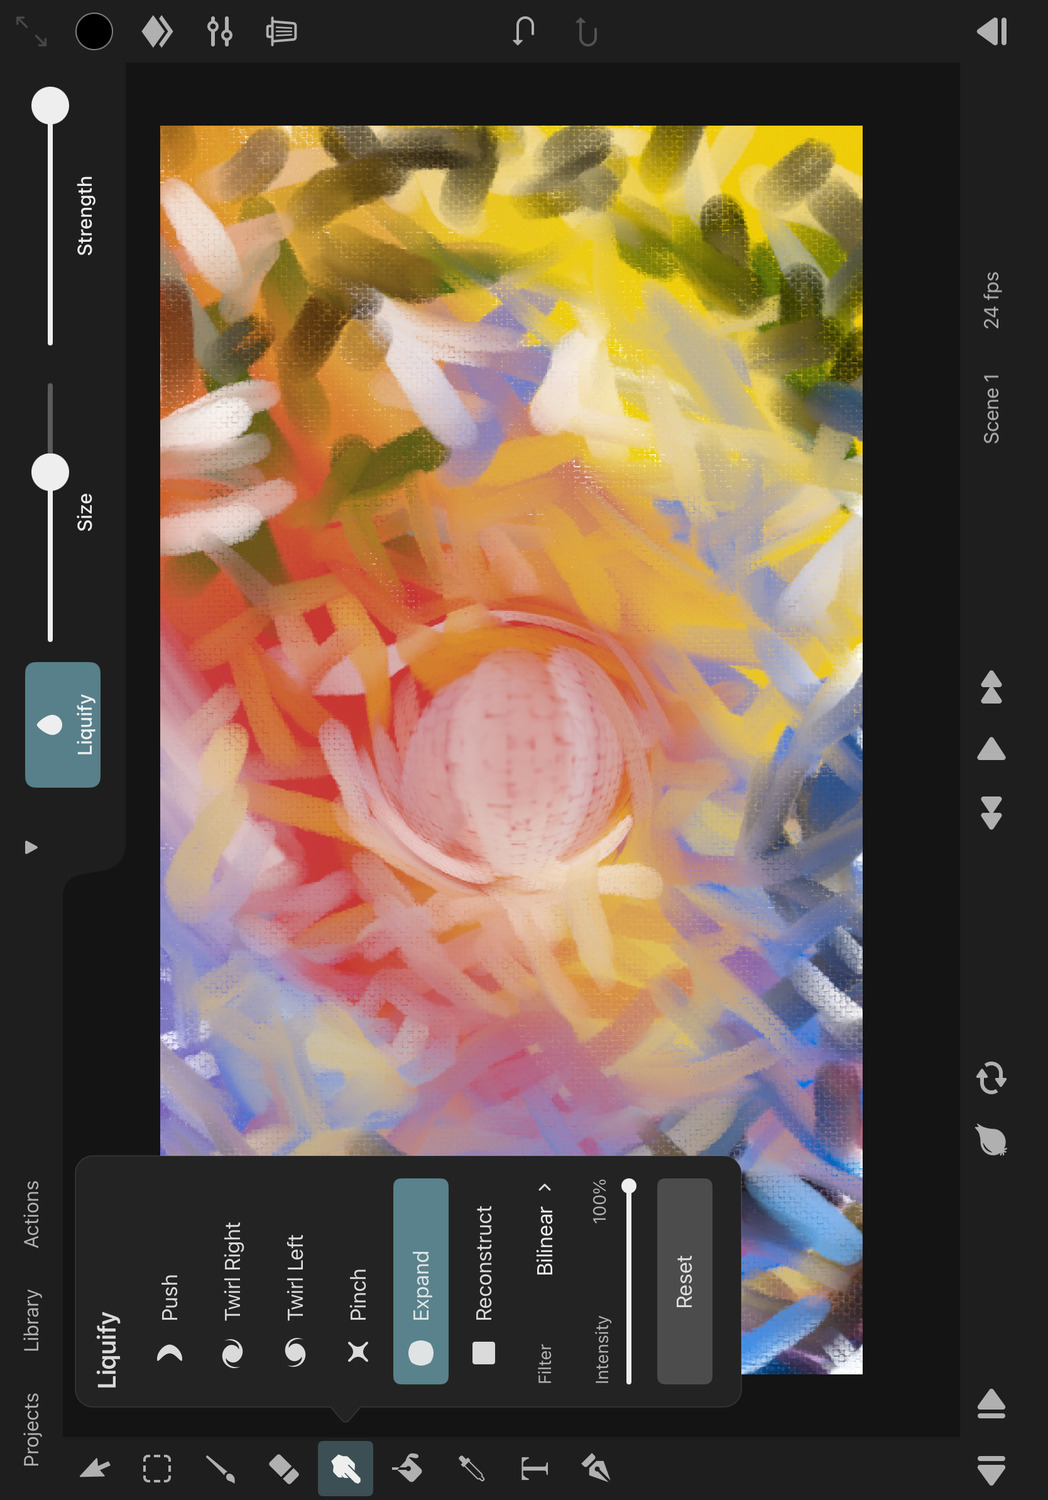
The Expand mode pushes the pixels in the layer away from the center of the brush stroke, creating an expanding effect.
Reconstruct#
The Reconstruct mode locally reconstructs the original pixels in the layer, undoing the liquify edits. This is useful for fine-tuning your liquify edits and fixing any mistakes.
Filter#
The Filter setting determines how the pixels from the original pixel layer contents are sampled when the liquify effect is applied.
Bilinear#
The default Bilinear filter results in smooth transitions between neighboring pixel colors, which is especially noticeable when a region is stretched with the liquify brush.
Nearest#
The Nearest filter does not mix the colors of sampled pixels, which results in a sharper and more pixelated look. This can be the desired effect depending on the art style.
Intensity#
The Intensity slider controls the overall strength of the liquify edits.
Reset#
Use the reset button to quickly remove all of the currently unapplied liquify edits.
No search results