Brushes
Brush Settings
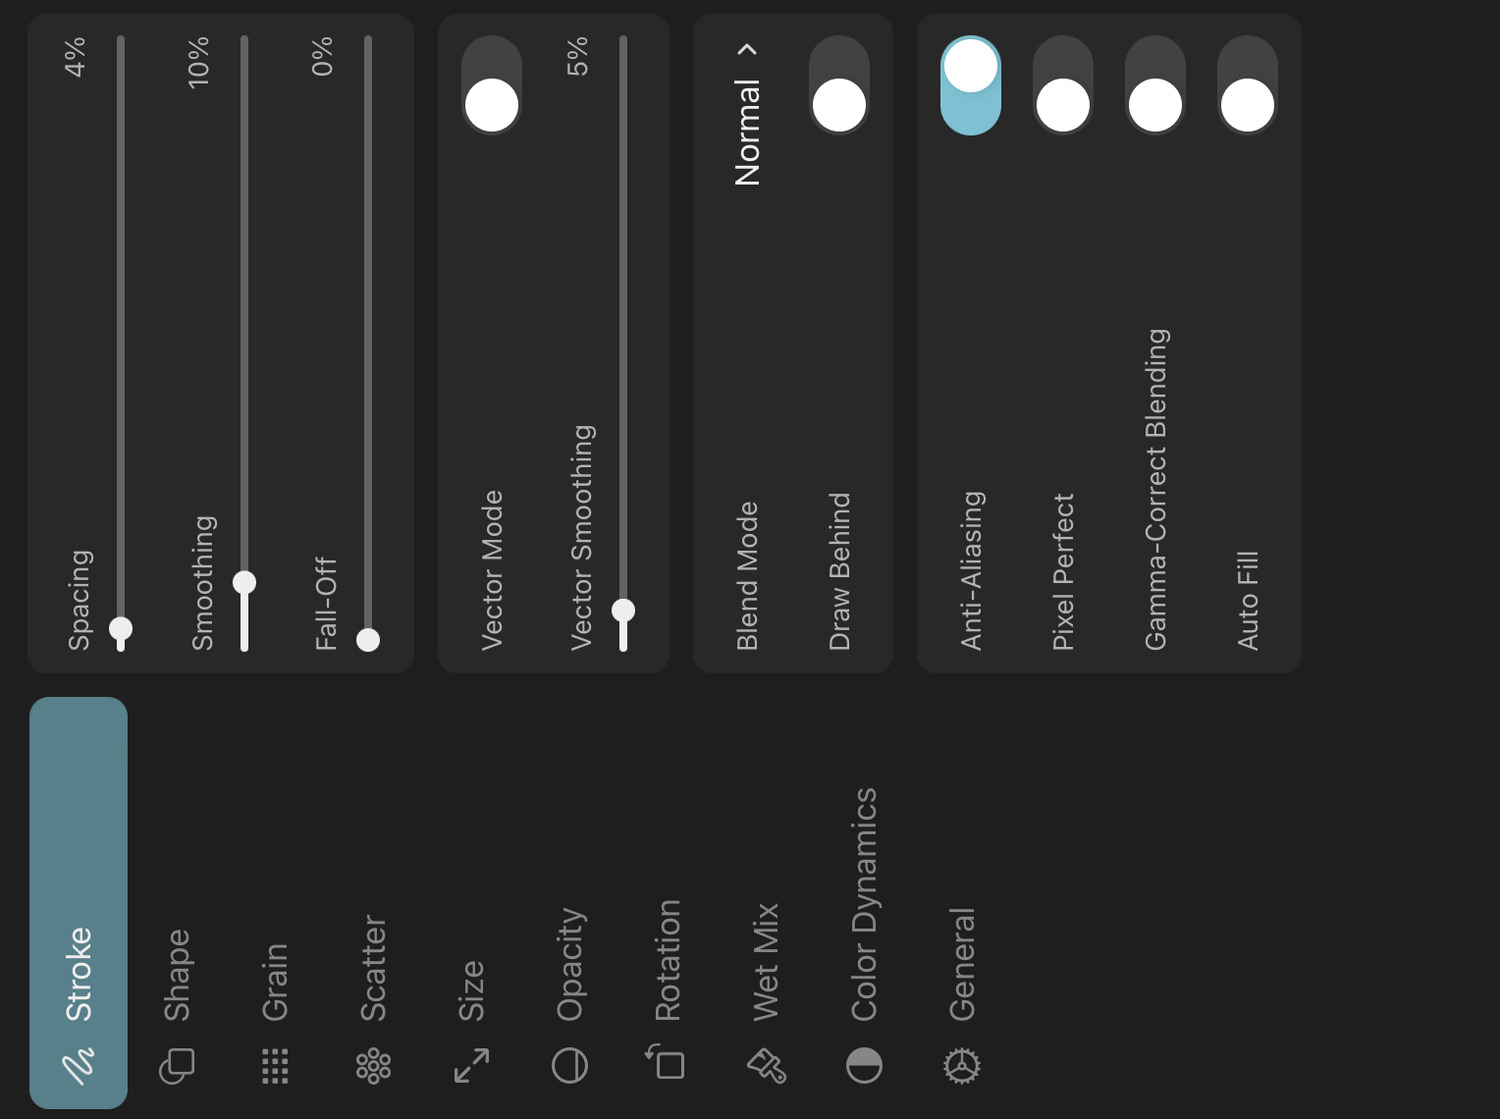
Stroke#
The following properties control the general behavior of the brush stroke.
Brush Mode#
The brush mode determines whether the brush should draw pixel strokes into pixel layers or filled or stroked vector shapes into vector layers / vector groups.
The available brush settings depend on the selected brush mode.
Pixel#
The brush draws pixel strokes into pixel layers. This is the default mode for all new brushes.
ToonSquid's pixel brushes draw their strokes by combining their shape and grain textures and "stamping" these resulting brush marks onto the layer at various points along the path that you draw with Apple Pencil or your finger.
Vector Shape#
Vector Shape brushes create filled path layers whose path outlines the edges of the brush strokes. See here for more details.
Vector Stroke#
Vector Stroke brushes create stroked path layers whose path is the center line of the brush strokes. See here for more details.
Spacing#
The spacing between consecutive brush marks relative to the brush size. A spacing of 100% results in neighboring brush marks touching at their edges. A spacing of 0% will place all brush marks 1px apart.
Lower values make the brush stroke appear smoother but also create more brush marks which can slow down the performance of the brush.
Fall-Off#
Controls whether and how quickly the brush stroke should fade out. A value of 0% represents an infinite amount of paint that never decreases. Lower values will cause the brush to slowly run out of its selected brush color throughout the brush stroke. This property is only available for pixel brushes.
Smoothing#
Intensity#
Controls how much ToonSquid should attempt to remove wobbles due to shakiness in your brush strokes to create a smoother final stroke. ToonSquid will use a moving average of the most recent input positions to calculate the final inputs that will be used for the stroke.
Show Gap#
In order to smoothen your brush strokes, ToonSquid averages multiple of the most recent touch or Apple Pencil input positions. This naturally results in a delay between the brush stroke and your finger or Apple Pencil. By default, ToonSquid hides this gap by connecting the end of the stroke to the tip of the pen. If you prefer to see the gap, enable the Show Gap setting.
Catch Up When Stroke Ends#
Whether the end of the smoothed stroke should immediately "catch up" and connect to the last touch or Apple Pencil position when the stroke ends. When disabled, the smoothed stroke does not get modified any futher once you lift your finger or Apple Pencil.
Adjust With Speed#
Whether the effective amount of smoothing at each point should be affected by the speed at which you draw the stroke.
Vector Smoothing#
If this brush is a vector brush, the Vector Smoothing controls how much the final vector strokes are simplified and smoothened compared to the fully-detailed pixel brush stroke of the same brush. More smoothing results in vector strokes that are represented by fewer Bézier curves and are therefore more performant but are also not as accurate at approximating the original stroke.
Line Cap#
Defines the line cap style to be used for the stroke for vector stroke brushes.
Line Join#
Defines the line join style to be used for the stroke for vector stroke brushes.
Blend Mode#
The blend mode with which the brush stroke should be blended onto the existing contents of the layer. This setting is only relevant for pixel brushes.
Draw Behind#
If this option is enabled, the brush will add its new strokes on the selected layer behind existing strokes.
This setting is ignored and has no effect if the brush performs wet-mixing.
Anti-Aliasing#
Whether the edges of the stroke should be anti-aliased or not. Anti-aliasing will remove jagged edges from the brush strokes. Disable this if you are looking for that jagged appearance, for example when creating brushes for pixel art.
Pixel Perfect#
With this setting enabled, the brush attempts to prevent visually uneven stroke thicknesses when the brush size is 1 px. The image below shows an example with the setting disabled on the left and enabled on the right.
Gamma-Correct Blending#
Enables gamma-correct (linear) blending for the brush strokes, as opposed to the default sRGB blending.
Auto Fill#
If this option is enabled, the brush will close the drawn shape at the end of the stroke and fill the inside of this region with the primary selected color.
If the grain rendering mode of the brush is set to Per Stroke, then the grain texture will also be applied to the filled region.
This setting is ignored and has no effect if the brush performs wet-mixing.
Shape#
These settings control the shape of the brush marks.

Shape Texture#
The image that should be used as the shape texture of the brush. Learn more about selecting and importing brush textures here.
The shape texture is combined with the grain texture to form the final brush marks.
Inverted#
Inverts the shape texture. Areas of the shape that are currently transparent will then show up in the brush stroke and currently visible portions will be invisible.
Flip X#
Flips the shape texture horizontally.
Flip Y#
Flips the shape texture vertically.
Grain#
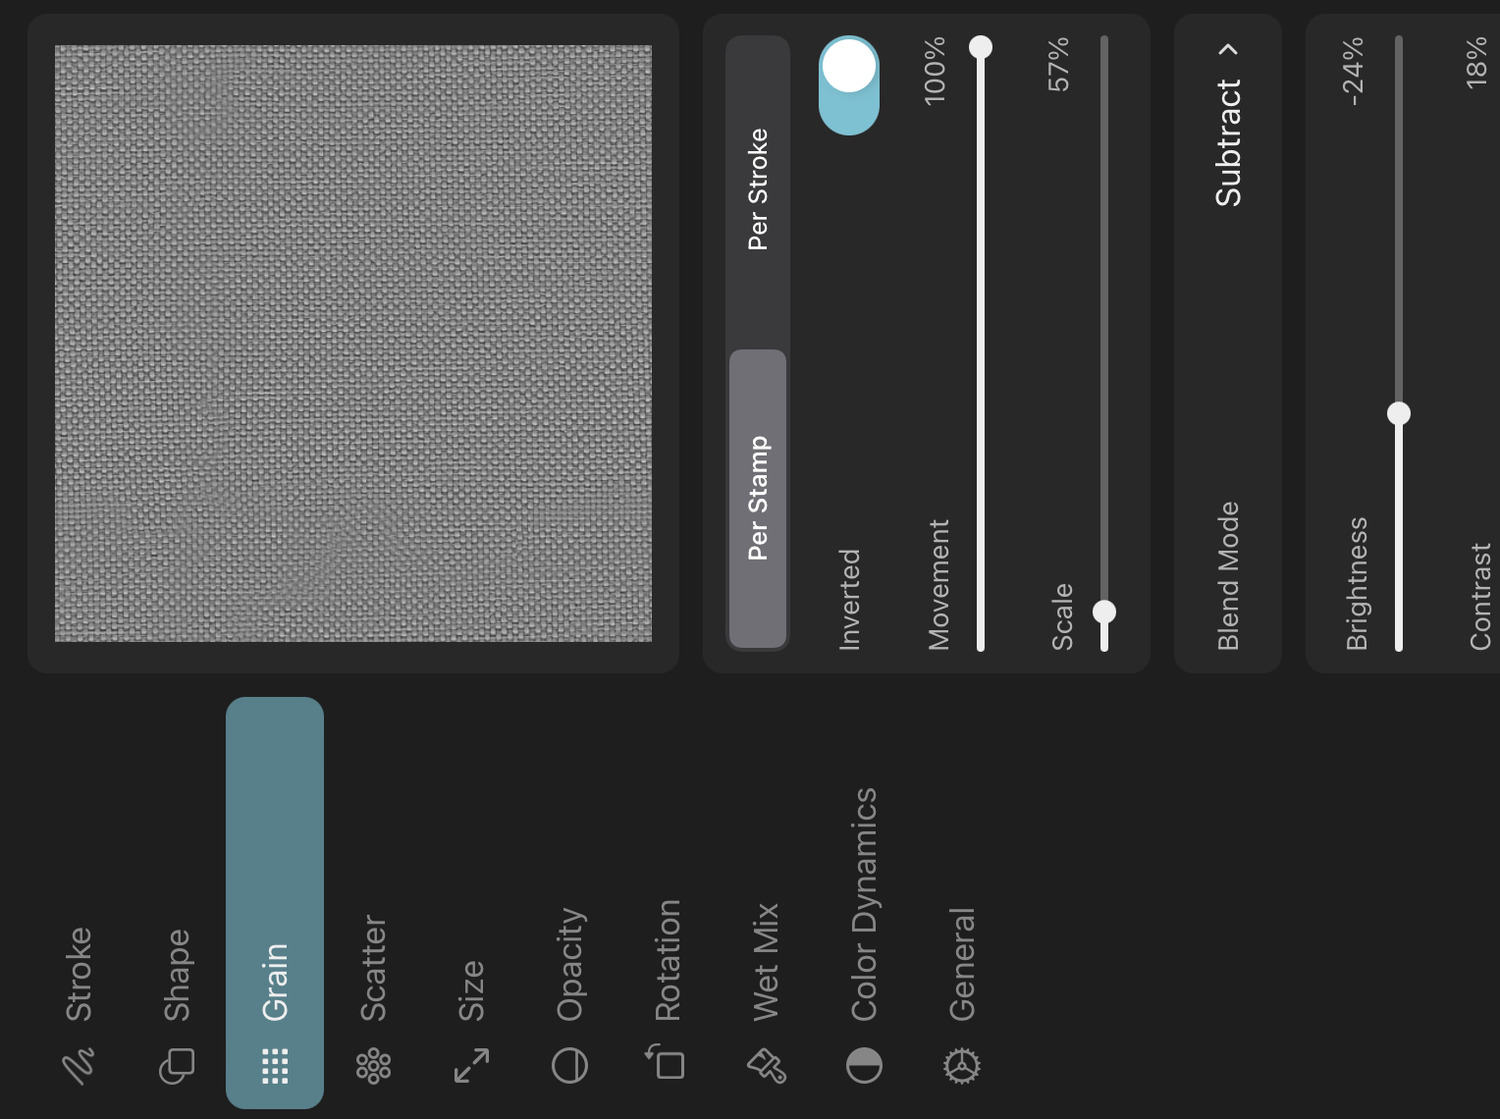
In addition to the shape texture, ToonSquid brushes use another texture - the so-called grain - to add more variety and detail to your brush strokes. The grain can also be used to create the effect of painting on a textured surface.
Grain Texture#
The image that should be used as the grain texture of the brush. Learn more about selecting and importing brush textures here.
The grain texture is combined with the shape texture to form the final brush marks.
Rendering Mode#
The grain supports two rendering modes, which define how it is combined with the shape texture to create the final brush stroke.
Per Stamp#
The grain texture is blended with the shape texture for each brush mark (stamp) before the new mark is then added to the current stroke.
Per Stroke#
The individual brush marks just consist of the shape texture. The grain texture is then blended with the entire brush stroke at once.
Inverted#
Inverts the grain texture. Areas of the Grain that are currently transparent will then show up in the brush stroke and currently visible portions will be invisible.
Movement#
The grain movement defines how the grain texture is positioned when it is blended with the brush marks. A movement value of 100% causes the grain texture to match the drawing surface. As you move your brush, it will therefore blend with different parts of the grain, as if the surface is textured.
A value of 0% causes the entire grain texture to be blended with each brush mark, no matter where you are drawing.
This setting is only available if the grain rendering mode is set to Per Stamp.
Scale#
Use this to change the scale of the grain texture.
Blend Mode#
Defines the blend mode to be used to blend the grain and shape textures together.
The Linear Height and Height blend modes are unique to the grain texture and cannot be selected for layers. Height multiplies the shape with the grain depth before then subtracting the grain. Linear Height uses the same result or that of multiplying the grain instead of subtracting it, depending on which result is brighter.
Tip#
The different grain blend modes are a very powerful tool to create significantly varying brush effects using the same shape and grain textures.
Brightness#
You can use this setting to adjust the brightness of the grain texture before it gets blended.
Contrast#
You can use this setting to adjust the contrast of the grain texture before it gets blended.
Depth#
The grain depth controls the intensity of the grain. If the rendering mode is set to Per Stamp, the grain depth can be further controlled by the following settings.
Jitter#
Use this to apply a random offset to the baseline grain depth for each brush mark.
Pressure Control#
Controls the grain depth based on the amount of pressure applied with Apple Pencil. Positive values increase the depth when there is more pressure, negative values decrease it with added pressure.
Tilt Control#
Controls the grain depth based on the tilt angle of Apple Pencil.
Speed Control#
Controls the grain depth based on the speed at which you draw your stroke. Positive values increase the depth at higher speeds, negative values decrease it.
Scatter#
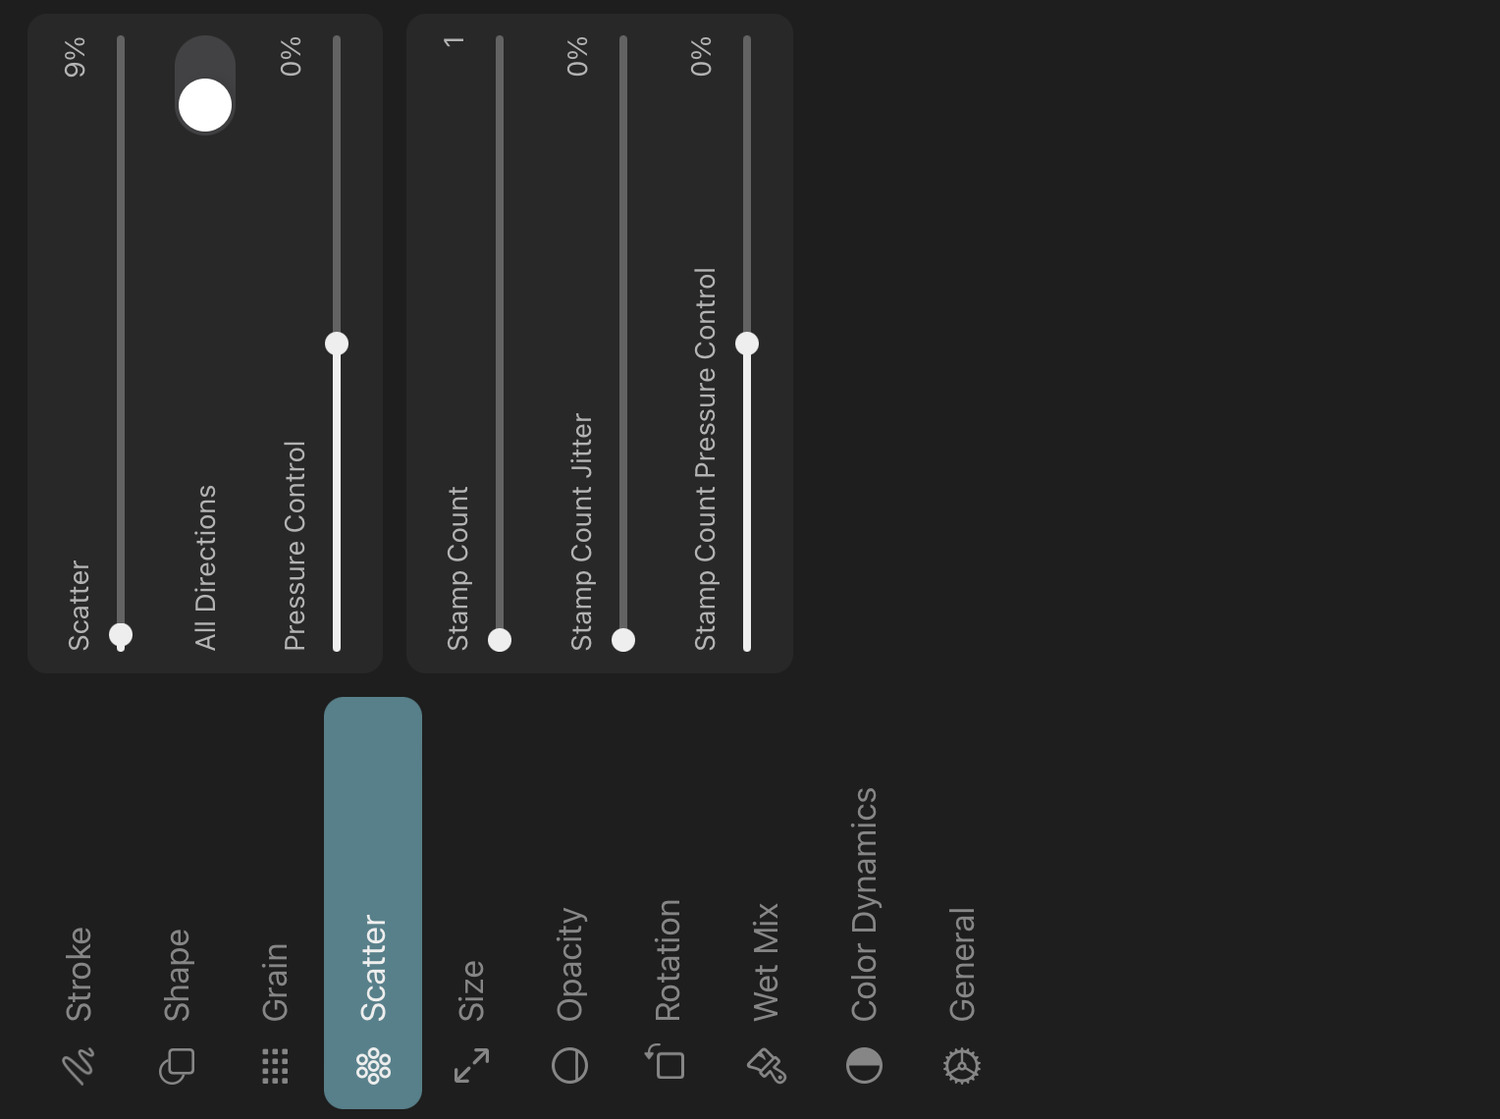
Use the settings in the scatter category to randomly shift the individual brush marks away from their regular position in the brush stroke.
Scatter#
Applies a random offset to the position of every brush mark, thereby scattering them away from their original points. The slider controls how far the marks can be moved away from their original positions as a percentage of the brush size.
All Directions#
If this is enabled, the brush marks are scattered in all directions. Disable this to only shift them perpendicularly to the brush stroke.
Pressure Control#
Controls the amount of scattering based on the pressure you apply with Apple Pencil during the stroke. Positive values increase the scattering with increased pressure, negative values decrease it.
Stamp Count#
Defines how many brush marks should be created at each spacing interval. This is set to 1 by default. Note that higher values for the stamp count will slow down the rendering of your brush strokes.
Stamp Count Jitter#
Randomly changes the stamp count at each spacing interval.
Stamp Count Pressure Control#
Controls the stamp count based on the pressure you apply with Apple Pencil during the stroke. Positive values increase the stamp count with increased pressure, negative values decrease it.
Size#
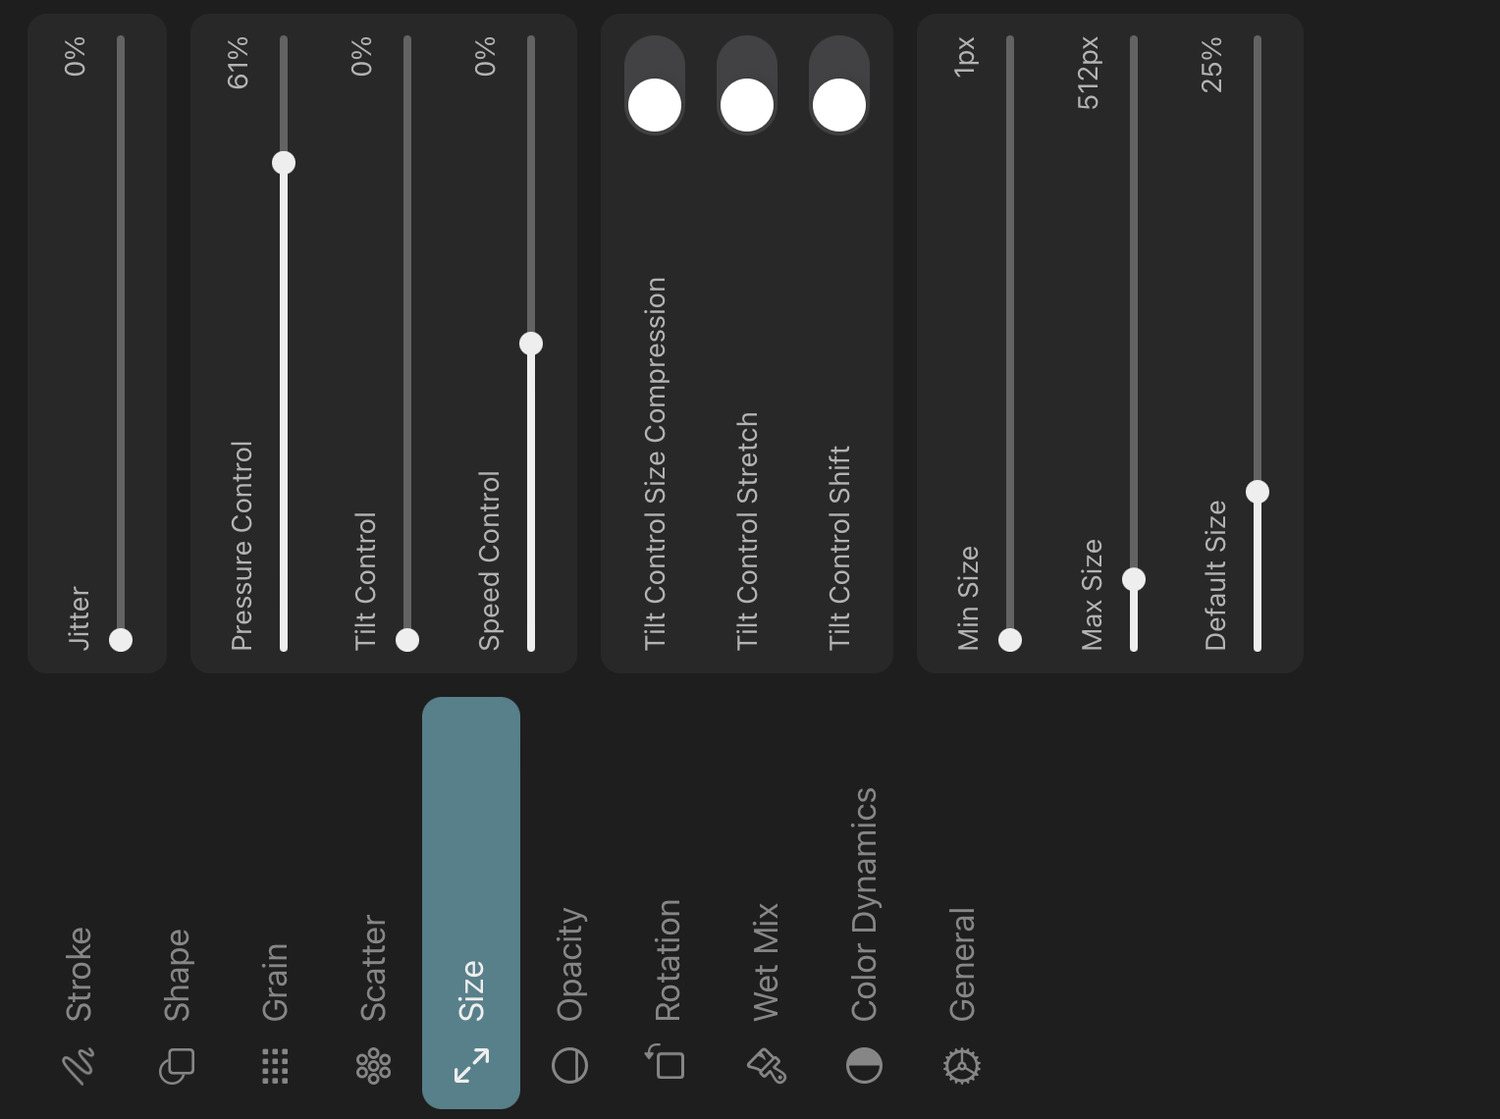
These settings control the size of each brush mark in the stroke.
Jitter#
Determines how much the size of each stamp can randomly deviate from the base size.
Pressure Control#
Controls the brush size based on the pressure you apply with Apple Pencil during the stroke. Positive values increase the size with increased pressure, negative values decrease it.
Tilt Control#
Controls the brush size based on the tilt angle of Apple Pencil. The more you tilt Apple Pencil, the larger the brush marks will get, the amount of which depends on this setting.
Speed Control#
Controls the brush size based on how fast you draw the stroke. Positive values decrease the brush size during slower movement, negative values decrease the brush size during faster movement.
Barrel Roll Control#
Controls the brush size based on the barrel roll angle of Apple Pencil Pro. When using an Apple Pencil model that does not support barrel roll, the brush size is controlled by the azimuth angle instead.
Tilt Control Size Compression#
When this option is enabled in combination with the tilt control slider, the magnitude of the size increase will be based on the direction of movement of the brush.
If the brush is being moved in the same or opposite direction as the azimuth angle of Apple Pencil, then there will be little to no size increase due to the tilt.
Moving orthogonally to the azimuth angle results in the largest size increase.
This can be used to approximate shading with the side of a pencil, especially if the brush uses a random rotation for each stamp.
Tilt Control Stretch#
When this option is enabled in combination with the tilt control slider, only the horizontal size of the brush stamps will increase with an increasing amount of tilt. This is the preferred way to approximate shading with the side of a pencil over the size compression setting if the brush has little to no rotation jitter and has its rotation behavior setting set to -100% to follow the azimuth tilt angle.
Tilt Control Shift#
When this option is enabled in combination with the tilt control slider, the brush marks will be shifted towards the tilted Apple Pencil to align the top edge of the stroke with the tip of the pencil.
Min Size#
The smallest allowed size for this brush. The range of the brush size slider is also limited by this.
Max Size#
The largest allowed size for this brush. The range of the brush size slider is also limited by this.
Default Size#
The default size of this brush when it is imported into a brush library. The value is specified as a percentage in the range between the minimum and maximum sizes.
Relative Secondary Brush Size#
The size of the secondary brush relative to the primary brush. This setting is only available for the secondary brush when dual brush settings are enabled.
Opacity#
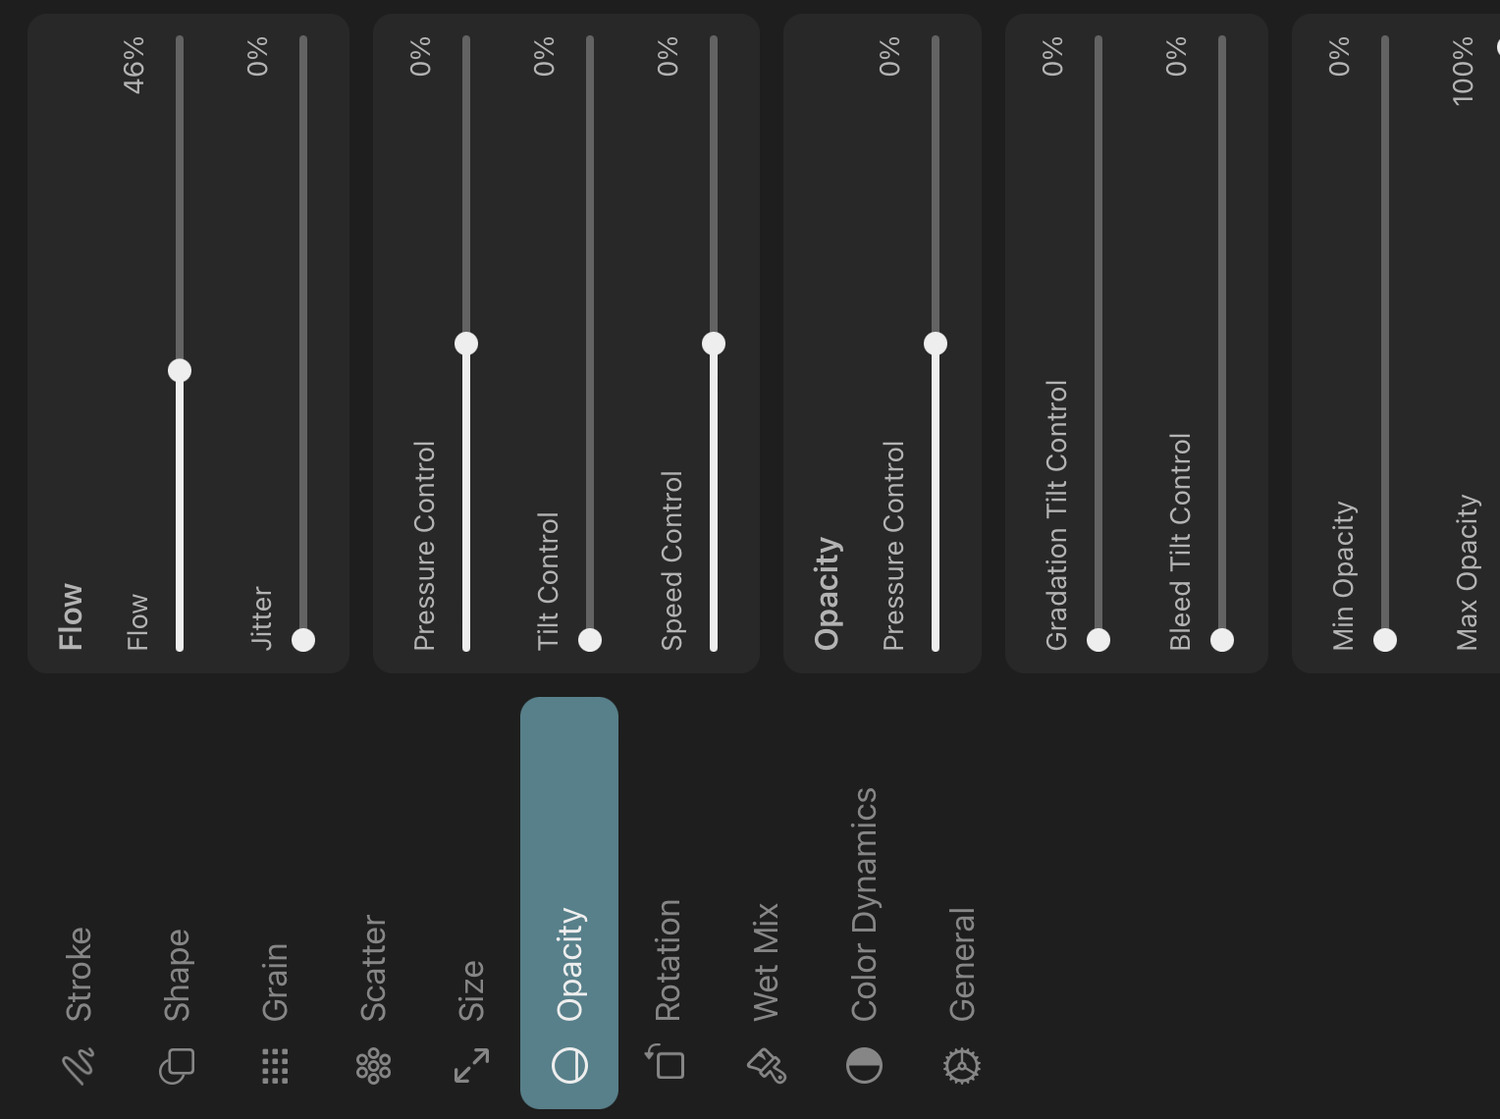
Flow#
The flow is an opacity multiplier for each individual brush mark, as opposed to the opacity of the entire stroke.
Jitter#
Determines how much the flow of each stamp can randomly deviate from the base flow value.
Pressure Control#
Controls the flow based on the pressure you apply with Apple Pencil during the stroke. Positive values decrease the flow with decreased pressure, negative values decrease it with increased pressure.
Tilt Control#
Controls the flow based on the tilt angle of Apple Pencil. The more you tilt Apple Pencil, the lower the flow will be, the amount of which depends on this setting.
Speed Control#
Controls the flow based on how fast you draw the stroke. Positive values decrease the flow during slower movement, negative values decrease the flow during faster movement.
Barrel Roll Control#
Controls the flow based on the barrel roll angle of Apple Pencil Pro. When using an Apple Pencil model that does not support barrel roll, the flow is controlled by the azimuth angle instead.
Opacity Pressure Control#
Controls the opacity of the brush stroke based on the pressure you apply with Apple Pencil during the stroke. Positive values decrease the opacity with decreased pressure, negative values decrease it with increased pressure.
The opacity controls the opacity of the stroke after the brush marks get blended as opposed to the flow which controls the opacity of the individual marks.
Gradation Tilt Control#
Whether tilting the brush should cause the opacity within each brush stamp to gradually decrease along the stamp's horizontal axis.
Bleed Tilt Control#
Whether tilting the brush should decrease the level of detail of each brush stamp.
Pixels within the brush mark that have an alpha value below a certain threshold will become fully transparent and pixels above an alpha threshold will become fully opaque. The distance between these two thresholds decreases with an increased amount of tilt.
Min Opacity#
The lowest allowed opacity of each brush mark.
Max Opacity#
The highest allowed opacity of each brush mark.
Rotation#
These settings control the rotation behavior of the brush shape.
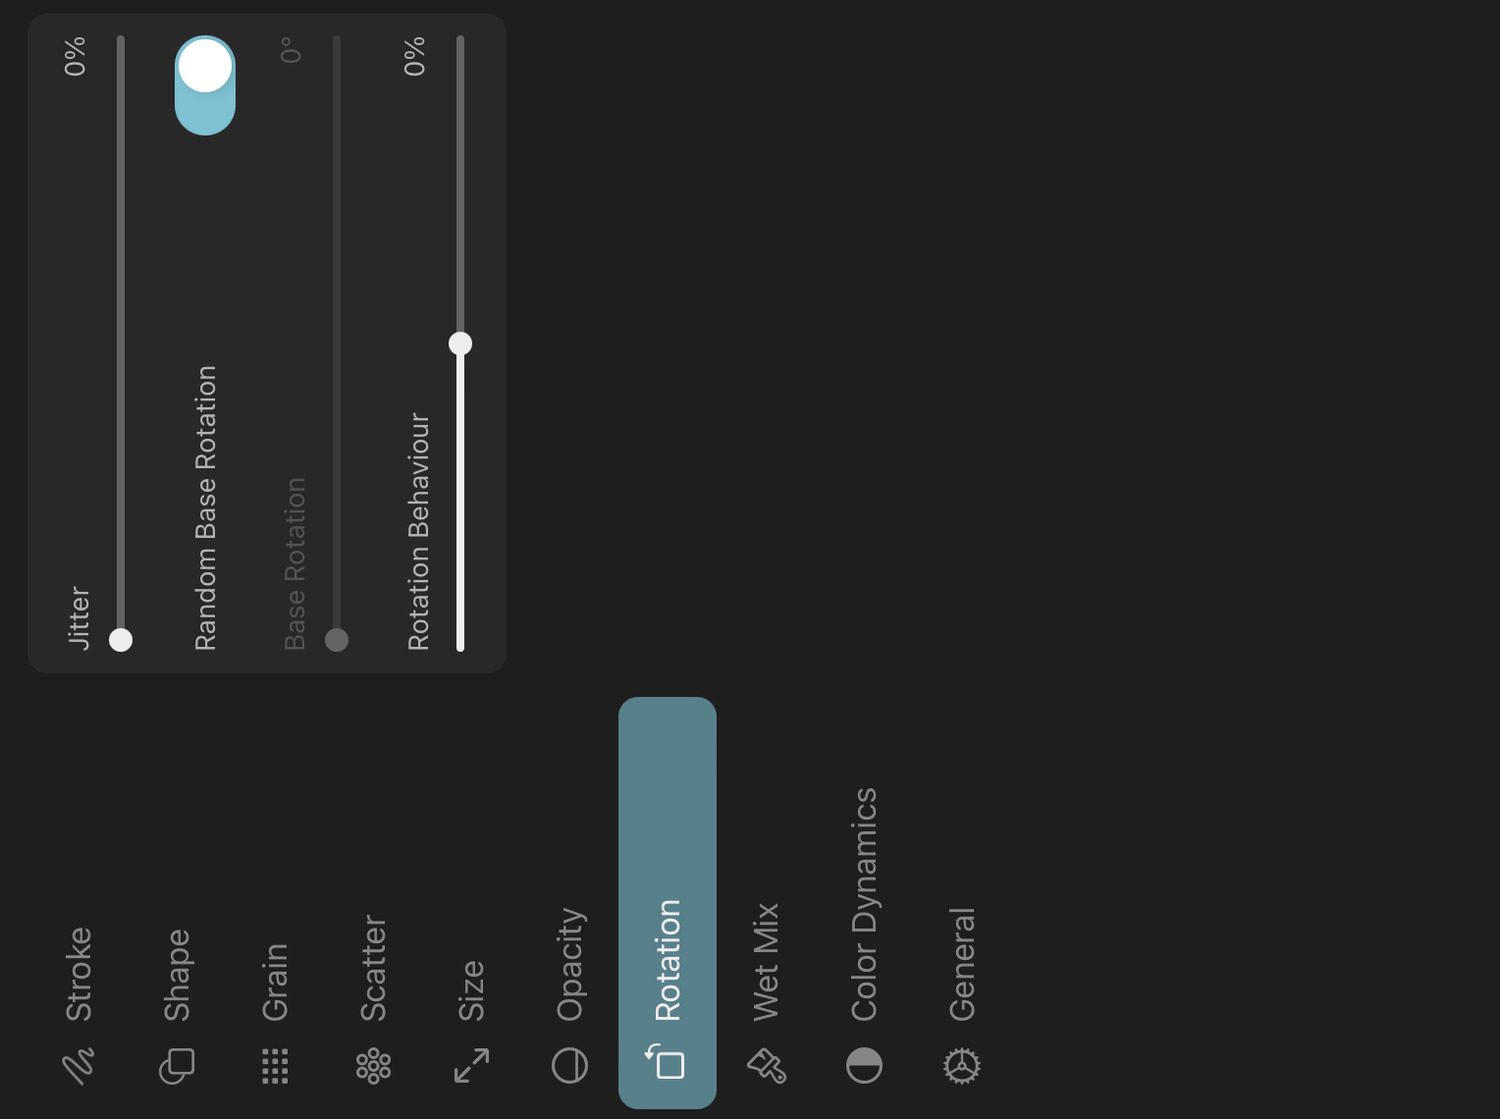
Jitter#
How much the rotation of each brush stamp should randomly deviate from the base rotation.
Random Base Rotation#
Whether the base rotation of the shape texture should be randomly chosen for every stroke.
Base Rotation#
The baseline rotation angle of the shape texture. If the rotation jitter is 0, then all brush marks will have this rotation.
This option is unused if Random Base Rotation is enabled.
Rotation Behavior#
Defines how the rotation of each brush mark should be controlled.
A value of 0 just uses the base rotation and the optional jitter specified above.
A value of 100% keeps the rotation perpendicular to the direction of the brush stroke.
A value of -100% keeps the rotation perpendicular to the azimuth tilt angle of Apple Pencil.
Barrel Roll Control#
How much the shape should rotate based on the barrel roll angle of Apple Pencil Pro. When using an Apple Pencil model that does not support barrel roll, the rotation is controlled by the azimuth angle instead.
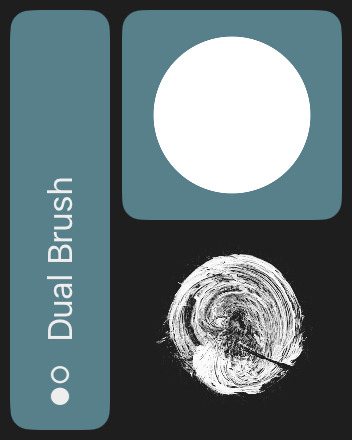
Dual Brush#
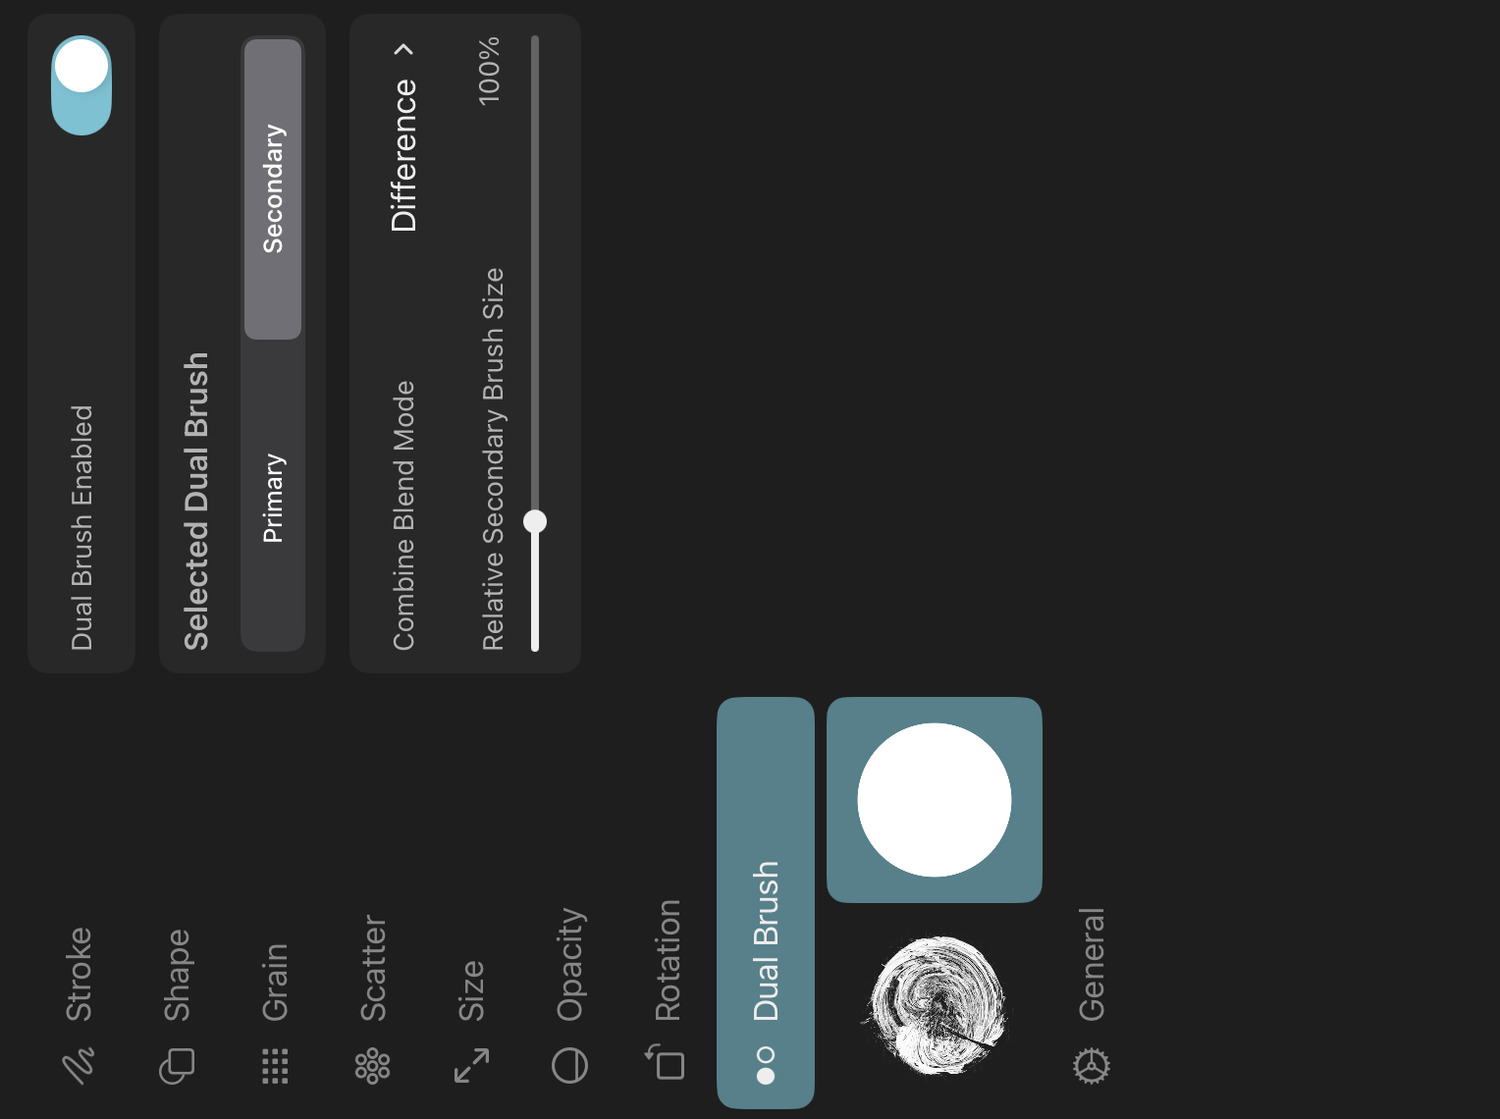
The dual brush feature allows you to combine two different brushes into a single brush stroke to create unique effects.
After enabling dual brush settings, you can separately edit the brush settings of a primary and a secondary brush. When drawing with the dual brush, both the primary and secondary brush settings create two overlapping brush strokes which are combined into a single stroke based on the Combine Blend Mode setting.
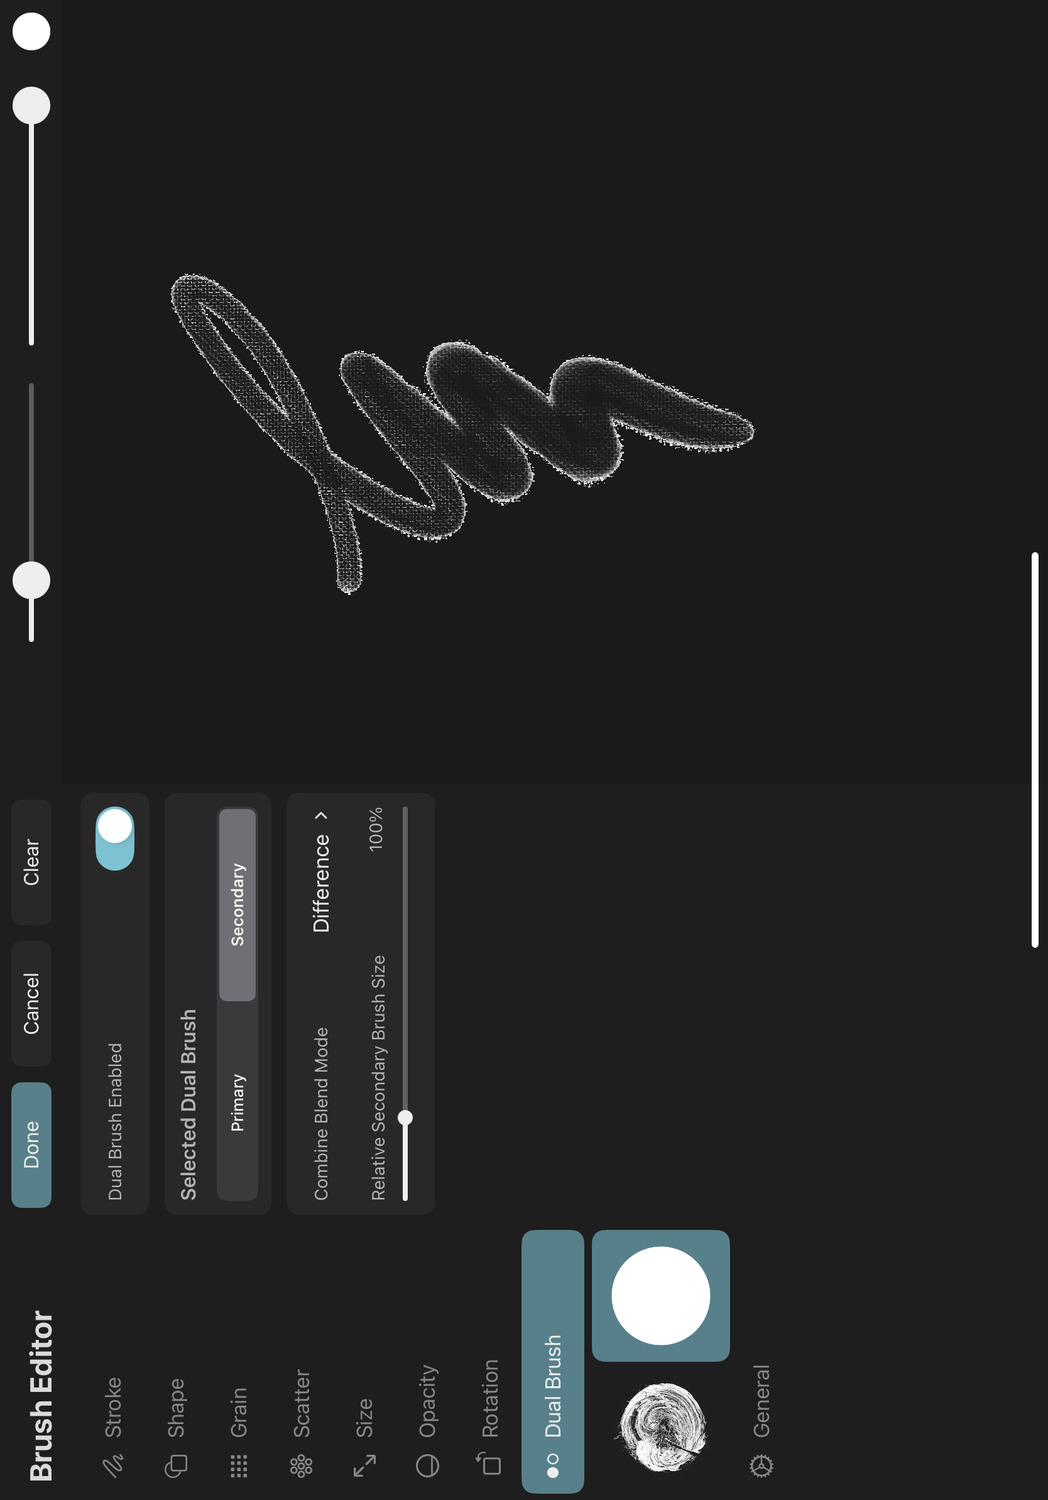
Dual Brush Enabled#
Whether the brush should act as a dual brush or not. Dual brush settings are only supported for pixel brushes.
Note#
Wet mix brush settings are not available for dual brushes.
Note#
The secondary brush of a dual brush is ignored by the smudge tool. Only the primary brush settings are used for smudging.
Selected Dual Brush#
Whether the primary or secondary brush settings of the dual brush should currently be edited in the brush editor. Not all settings are available for both brushes.
When dual brush settings are enabled, the brush editor will show the shape texture of both the primary and the secondary brush in the sidebar under the Dual Brush tab. You can tap on either one of these to quickly switch between editing the settings of the primary or secondary brush without having to switch to the Dual Brush tab first.
Combine Blend Mode#
The combine blend mode controls how the strokes of the primary and secondary brushes are combined into a single stroke. This combine blending is based on the opacity of each pixel and is not based on the colors.
Relative Secondary Brush Size#
The size of the secondary brush relative to the primary brush. This setting is only available for the secondary brush when dual brush settings are enabled.
Wet Mix#
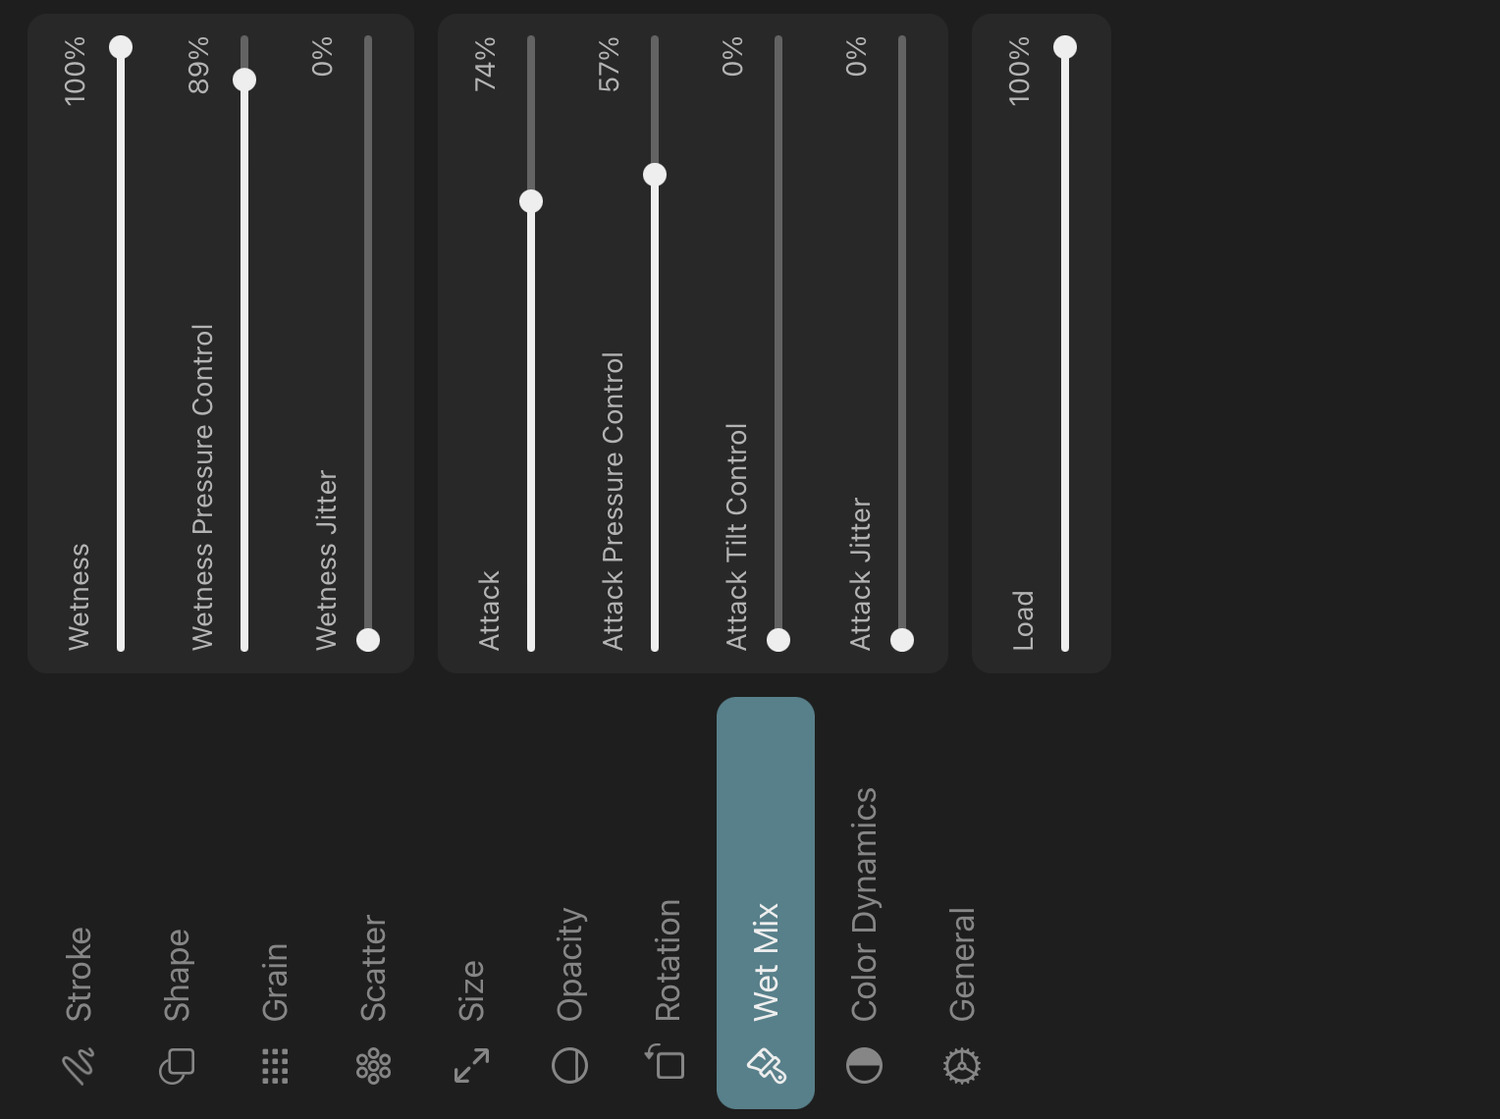
Use the following settings to create beautiful wet paint effects which cause your brush to drag the existing paint on the layer around as you draw.
Note that wet mix settings are not available if dual brush settings are enabled.
Wetness#
Controls the overall strength of the wet mixing effect. Increase this value to drag and mix the paint on the layer for longer distances during each brush stroke.
When this is set to 0%, all following wet mix settings do not affect the stroke.
Wetness Pressure Control#
Controls the wetness based on the pressure you apply with Apple Pencil during the stroke. Positive values decrease the wetness with decreased pressure, negative values decrease it with increased pressure.
Wetness Jitter#
Determines how much the wetness of each stamp can randomly deviate from the base wetness value.
Attack#
The attack controls how much of the selected brush color should be added to the mix of the current surface color and color that the brush picked up from the surface throughout the stroke.
Attack Pressure Control#
Controls the attack based on the pressure you apply with Apple Pencil during the stroke. Positive values decrease the attack with decreased pressure, negative values decrease it with increased pressure.
Attack Tilt Control#
Controls the attack based on the tilt angle of Apple Pencil. The more you tilt Apple Pencil, the higher the attack will be, the amount of which depends on this setting.
Attack Barrel Roll Control#
Controls the attack based on the barrel roll angle of Apple Pencil Pro. When using an Apple Pencil model that does not support barrel roll, the attack is controlled by the azimuth angle instead.
Attack Jitter#
Determines how much the attack of each stamp can randomly deviate from the base attack value.
Load#
Describes how much paint is initially loaded on the brush.
Color Dynamics#
Use ToonSquid's color dynamics settings to apply color variations within your brush strokes.
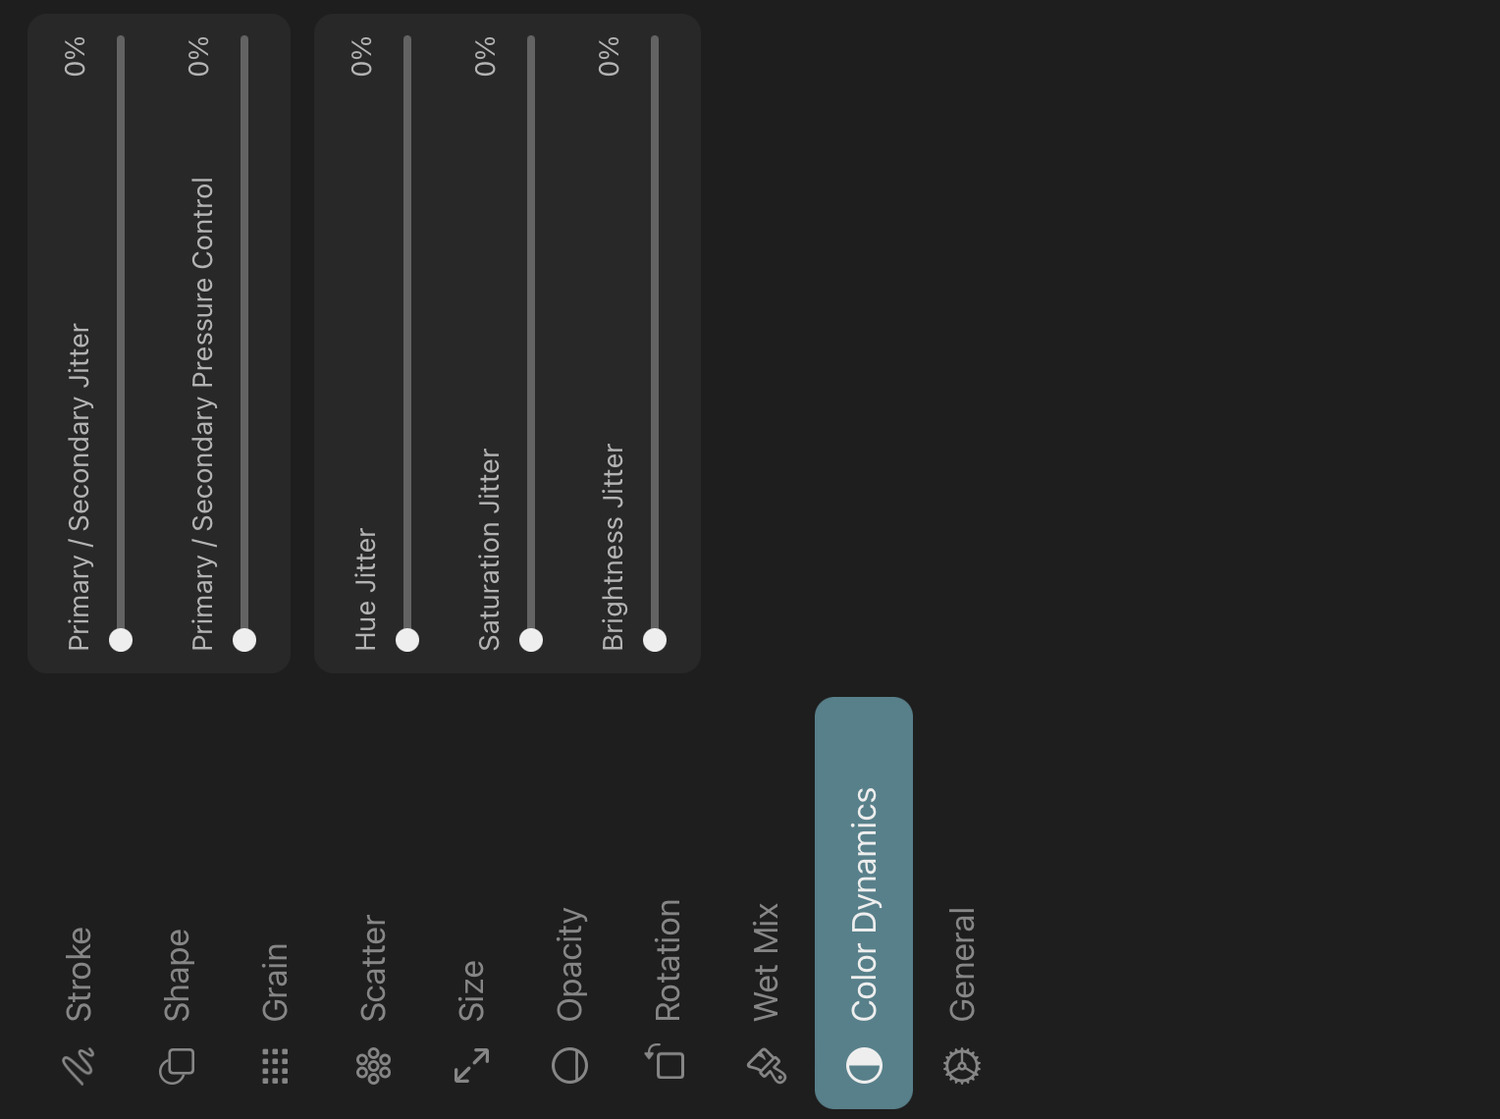
Primary / Secondary Jitter#
Controls how far the brush color can randomly deviate from the primary color towards the secondary color at each brush mark.
Primary / Secondary Pressure Control#
Controls the primary / secondary jitter based on the pressure you apply with Apple Pencil during the stroke. Positive values decrease the jitter with decreased pressure, negative values decrease it with increased pressure.
Hue Jitter#
Controls how far the hue of the brush color can randomly deviate from the mix between the primary and secondary color at each brush mark.
Saturation Jitter#
Controls how far the saturation of the brush color can randomly deviate from the mix between the primary and secondary color at each brush mark.
Brightness Jitter#
Controls how far the brightness of the brush color can randomly deviate from the mix between the primary and secondary color at each brush mark.
General#
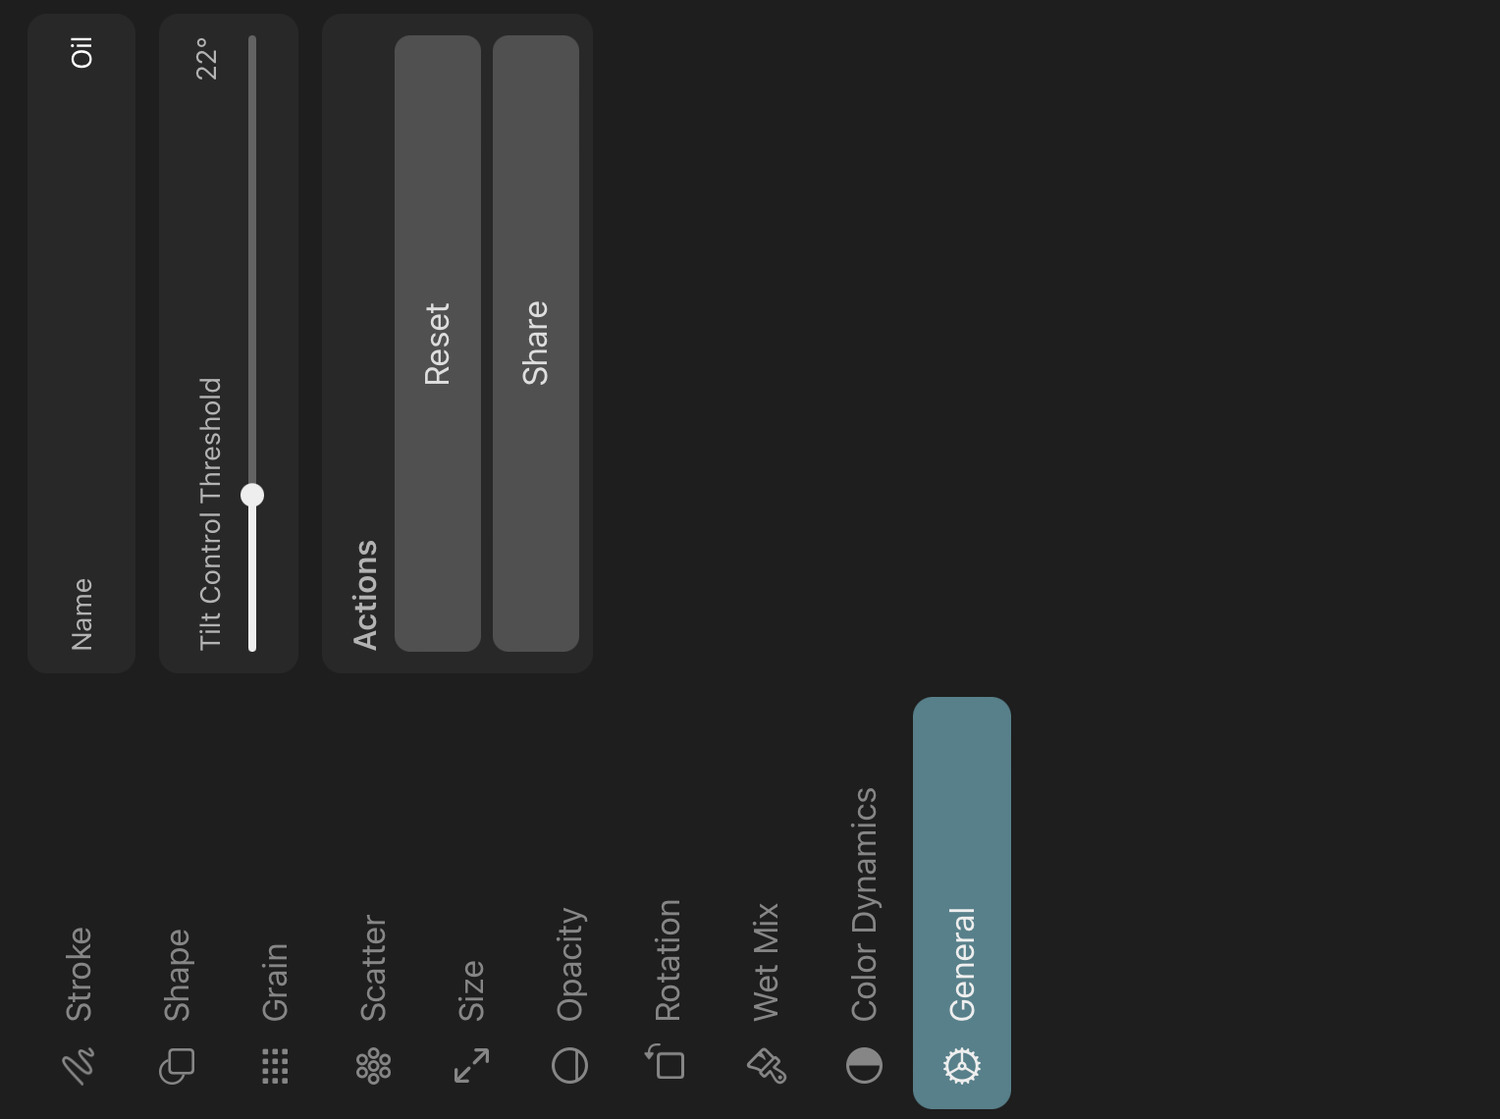
Name#
The name of the brush in the brush library. This name is also used when the brush is exported.
Tilt Control Threshold#
This value defines the tilt angle of Apple Pencil below which tilt control settings of the brush start to take effect. An angle of 0° represents Apple Pencil being tilted so that the flat edge of its tip is completely touching the screen.
Barrel Roll Relative To Start Of Stroke#
Whether the barrel roll angle of Apple Pencil should always be considered 0° at the start of each stroke, regardless of the physical roll angle of Apple Pencil at that moment. When enabled, all subsequent roll angles are then measured relative to this initial angle.
Reset#
Resets all brush settings to their values when this brush was first created.
Share#
Exports the brush as a .tsbrush file.
No search results