Layers
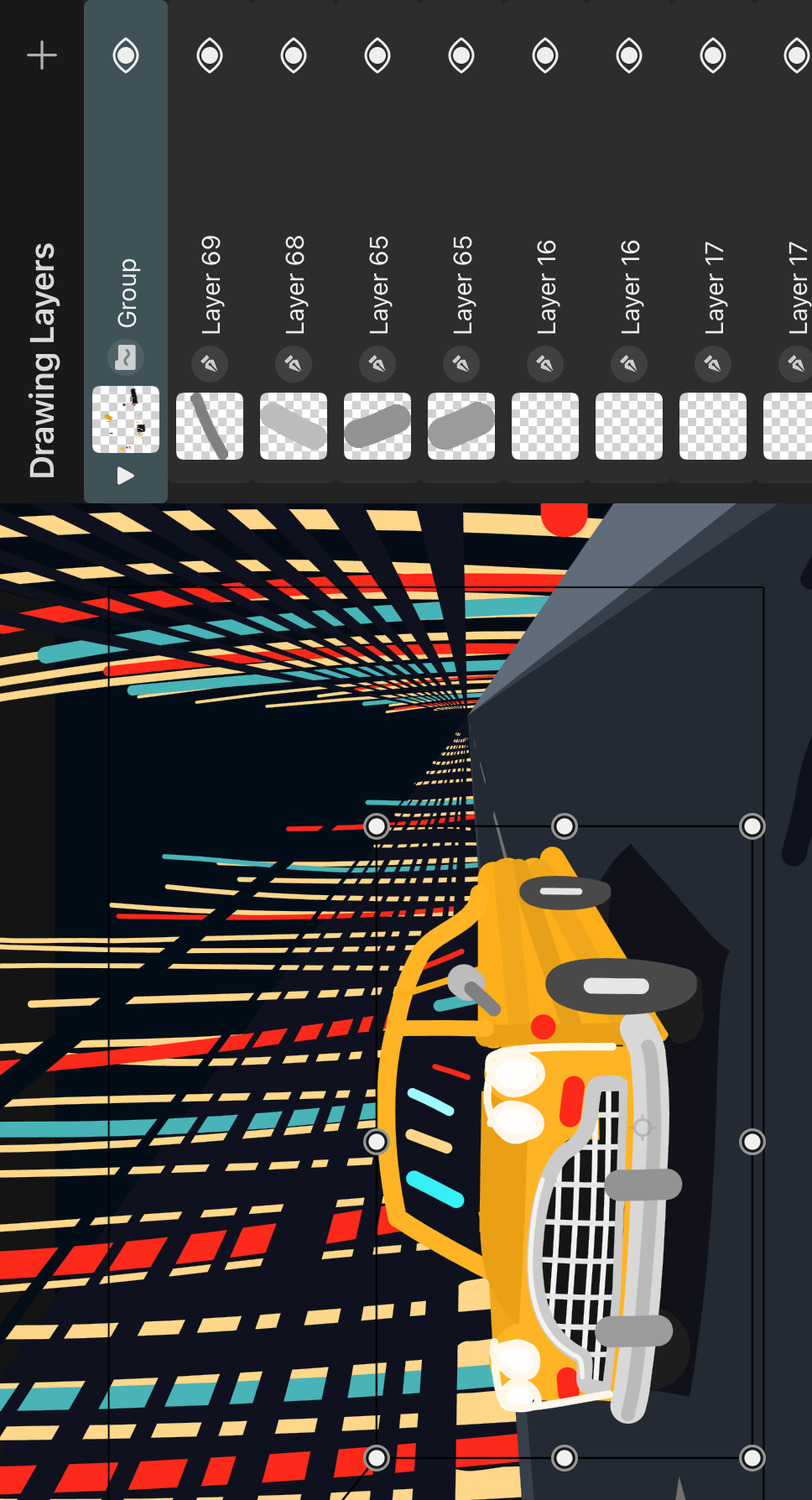
Group Layer
Groups can be used to group layers in the timeline and within drawing layers for organizational purposes or to transform them together.
Create a Group#
Create a group by tapping the + button of the layer list and selecting Group.
Add Layers to Groups#
There are two options for adding layers to a group.
- Select the group and add a new layer. The new layer will be added to the selected group layer if the group is expanded. If it is collaped, the new layer will be added above the group.
- Drag and drop an existing layer onto a group layer.
Removing Layers from Groups#
Drag and drop layers out of the group into a different part of the layer list to remove them from the group.
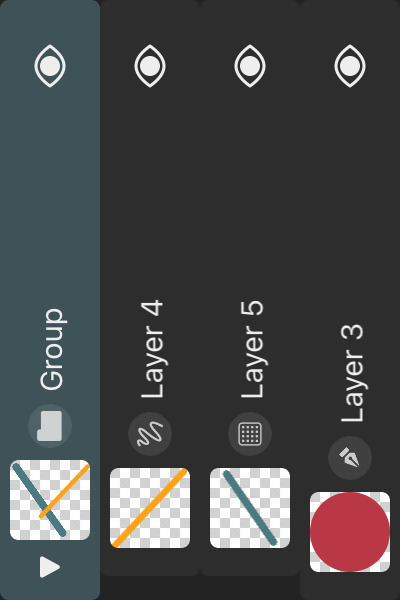
Collapse#
You can collapse and expand each group in the layer list using the small disclosure triangle to the left of its thumbnail. Collapsing a group will hide all the layers inside that group from the layer list.
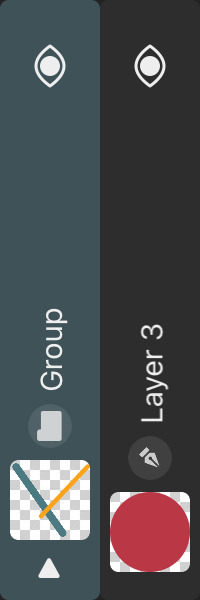
Collapsing a group has no impact on the appearance of the animation.
Blending#
By default, group layers use the Pass Through blend mode, which means that the group does not affect the rendering of the layers inside (assuming that the group also has an opacity of 100%).
Changing the blend mode or opacity of a group causes all layers inside to be composited (blended) together first before then being blended with the layers outside of the group using the group's blend mode and opacity.
Toggling the group's visibility will also hide all layers inside the group.
Loop Mode#
Groups in the timeline have a Loop Mode property, which can be used to loop the contents of the group. These are the available loop modes:
Don't Loop#
This is the default mode. The contents of the group are played once and then stop, just like how they appear in the timeline.
Normal#
The contents of the group start playing from the beginning again once they reach the end.
Note that the beginning of the loop is the first frame of the group layer, not the first frame of the contents of the group. Align the contents of the group with the beginning of the group layer and shift the entire group layer to a different position in the timeline if you want the loop to start at a different frame.
Boomerang#
The contents of the group repeatedly play forwards and then backwards.
Timeline#
By default, group layers in the timeline stretch across the entire length of your animation, even if they don't contain layers with drawings on all of those frames. However, just like with drawings, you can drag the retiming handles to change the start or end frame of a group.
When you change the start frame, all layers inside the group are shifted by the same amount.
If you change the end frame of a group, it will only display its contents until this manually defined end frame, even if the drawings inside the group extend beyond this frame. In order to reset this end frame so that the group automatically extends to the last frame of the scene again, tap the group and select Extend to End.
Just like with drawings, it is also possible to use drag and drop for moving a group in the timeline. Note that groups in the timeline and drawings cannot be mixed in the same layer. Groups are always in their own separate layer in the timeline.

Vector Groups#

Group drawing layers that only contain path layers are referred to as "vector groups".
The brush, eraser, fill and transform tools and the cut & paste feature provide special treatment for such vector groups, allowing you to edit the vector contents of the group similarly to how you can edit the contents of a single vector layer.
For example, if you use the eraser on a vector group, it will erase from all of the path layers inside of the group at once.
To further mimic the behaviour of singular vector layers, it is not possible to drop another layer into a vector group via drag and drop if the vector group is collapsed.
You can find more information on the differences between vector layers and vector groups and how to convert from one to the other here.
Note#
Vector groups may not contain vector layers, only path layers. The vector group itself mimics the behaviour of a single vector layer.
No search results