Effects
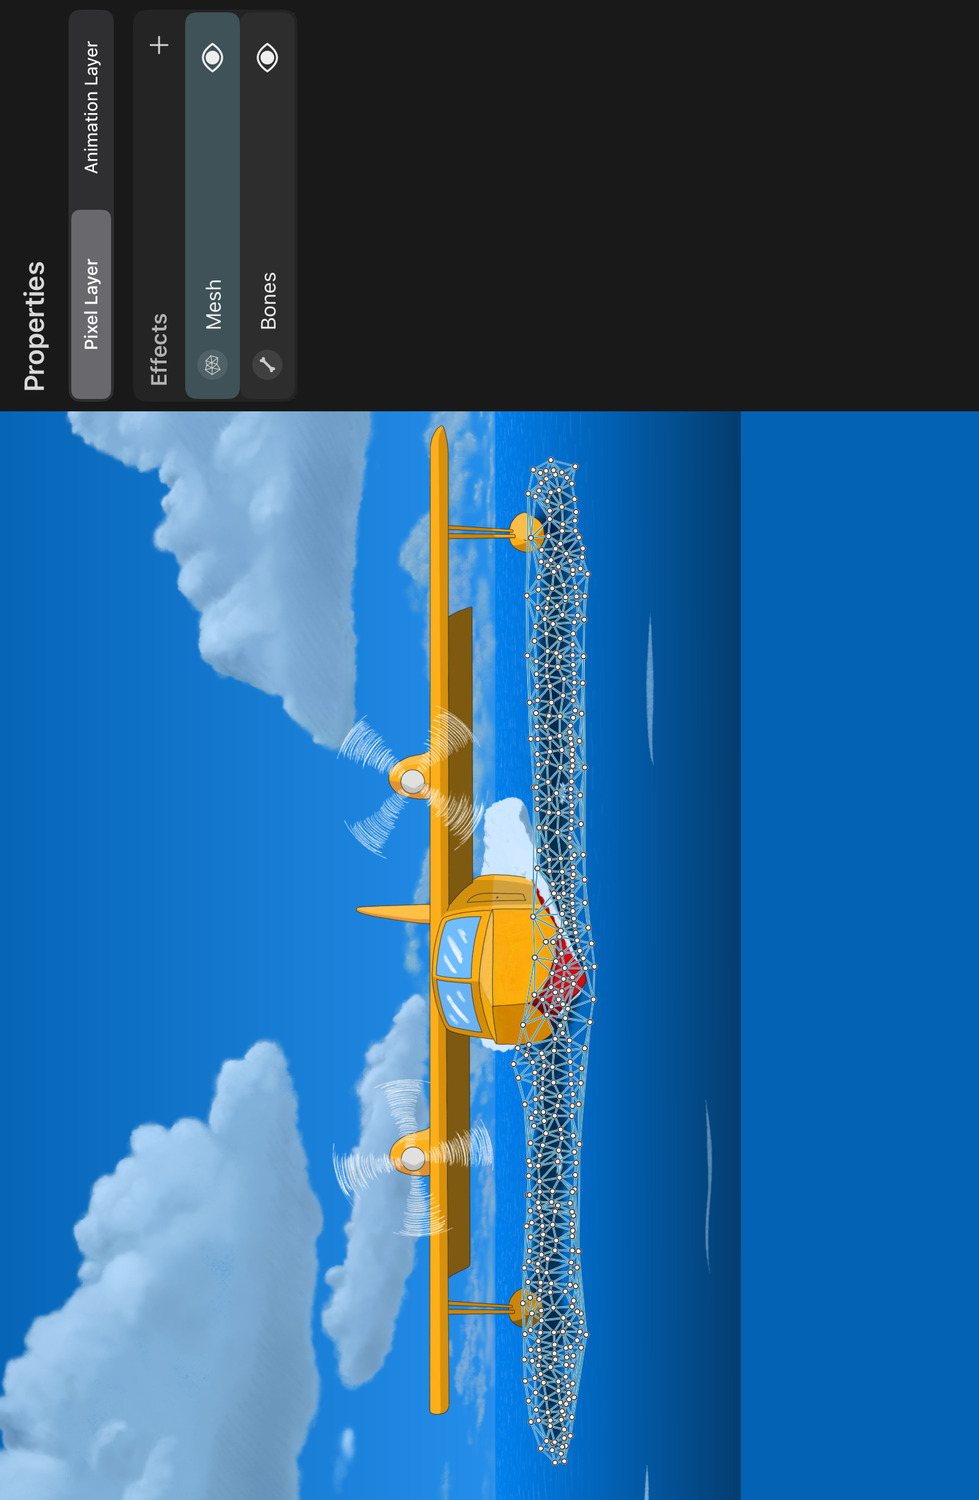
Mesh
The mesh effect allows you to map the contents of a layer to a custom mesh of triangles and then animate and deform the mesh with bones or by hand.
A common use case for the mesh effect is for building deformable character rigs out of imported images.
Note#
Layers with vector contents are implicitly rasterized when a mesh effect is applied to them.
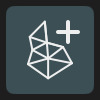
Add Mesh Tool#
To add control points to the mesh
- Select the
Add Mesh Toolin the sidebar. Its icon shows a mesh with a plus sign. - Tap on the canvas to add new control points to the mesh.
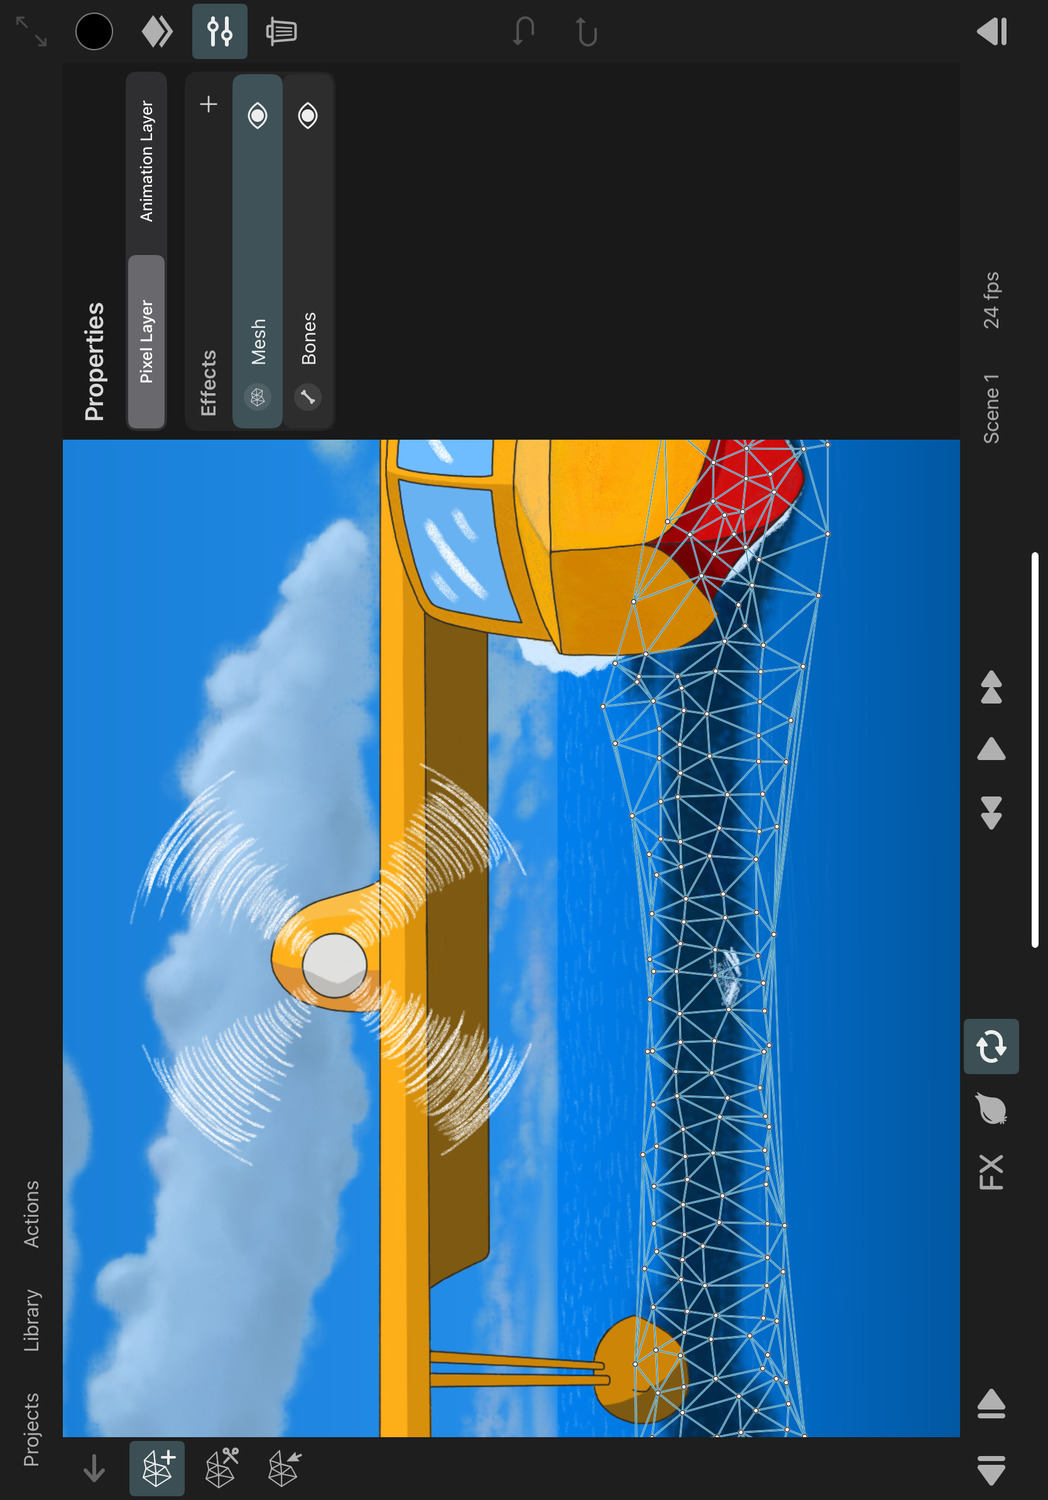
Every time you add a new control point to the mesh, the triangles of the mesh are automatically updated to include the new control point.
Only the layer regions where the mesh has triangles remain visible when effects are enabled. You therefore need at least three control points in the effect to see any part of your layer through the mesh.
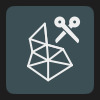
Cut Mesh Tool#
In order to delete triangles and control points from the mesh
- Select the
Cut Mesh Toolin the sidebar. Its icon shows a mesh with a scissors. - Drag across all triangles that you want to delete. Control points that would end up not being connected to any other points are automatically deleted as well.
Transform Mesh Tool#
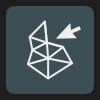
To move the control points of the mesh
- Select the
Transform Mesh Toolin the sidebar. Its icon shows a mesh with a cursor. - Drag the control points to move them around.
If effects are disabled in the editor when you use the transform mesh tool, the control points are repositioned relative to the layer contents. This is the equivalent of editing the bind pose of a bone rig. The "bind" position of the control points defines how the layer contents should map onto the mesh.
When effects are enabled in the editor, the tool will create keyframes for the control points that you move in order to animate the mesh.
No search results