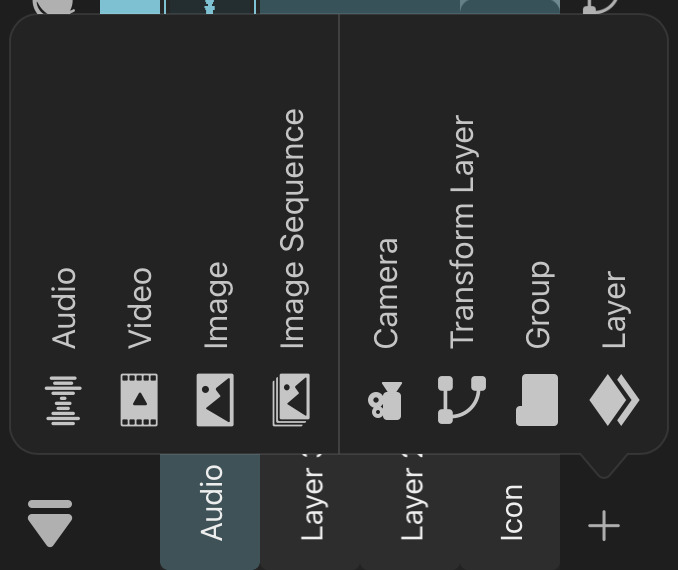
Layers
Audio
Use audio layers in order to add audio clips to the timeline to be played back together with the animation.

Audio clips behave similarly to drawings in the timeline. You can use the retiming handles to trim and shift them.
Importing Audio#
You can import audio files into the timeline by tapping the + button in the timeline and selecting Audio.
Choose between directly recording audio in the app with your microphone or importing audio clips from the Files app or the Photos app. If you select a video file, only its audio will be imported.
Alternatively, you can import audio files via the library with the following steps:
- Open the library.
- Tap the
+button in the top right corner. - Tap
Import from Files. - Select one or more audio files.
This will add the files to the library under the Audio Clips tab. If only one file was selected, an audio layer with this clip will be automatically inserted into the timeline.
Supported File Formats#
ToonSquid supports audio files with the following formats to be imported into your projects.
- .wav
- .mp3
- .aiff
- .m4a
- .flac
All audio files are converted to 44.1 kHz .wav files during the import for more efficient playback. The converted audio file is saved as part of the project.
Recording Audio#
To record audio directly within ToonSquid
- Tap the
+button in the timeline. - Select
Audio. - Tap
Record.
This opens the audio recording interface.
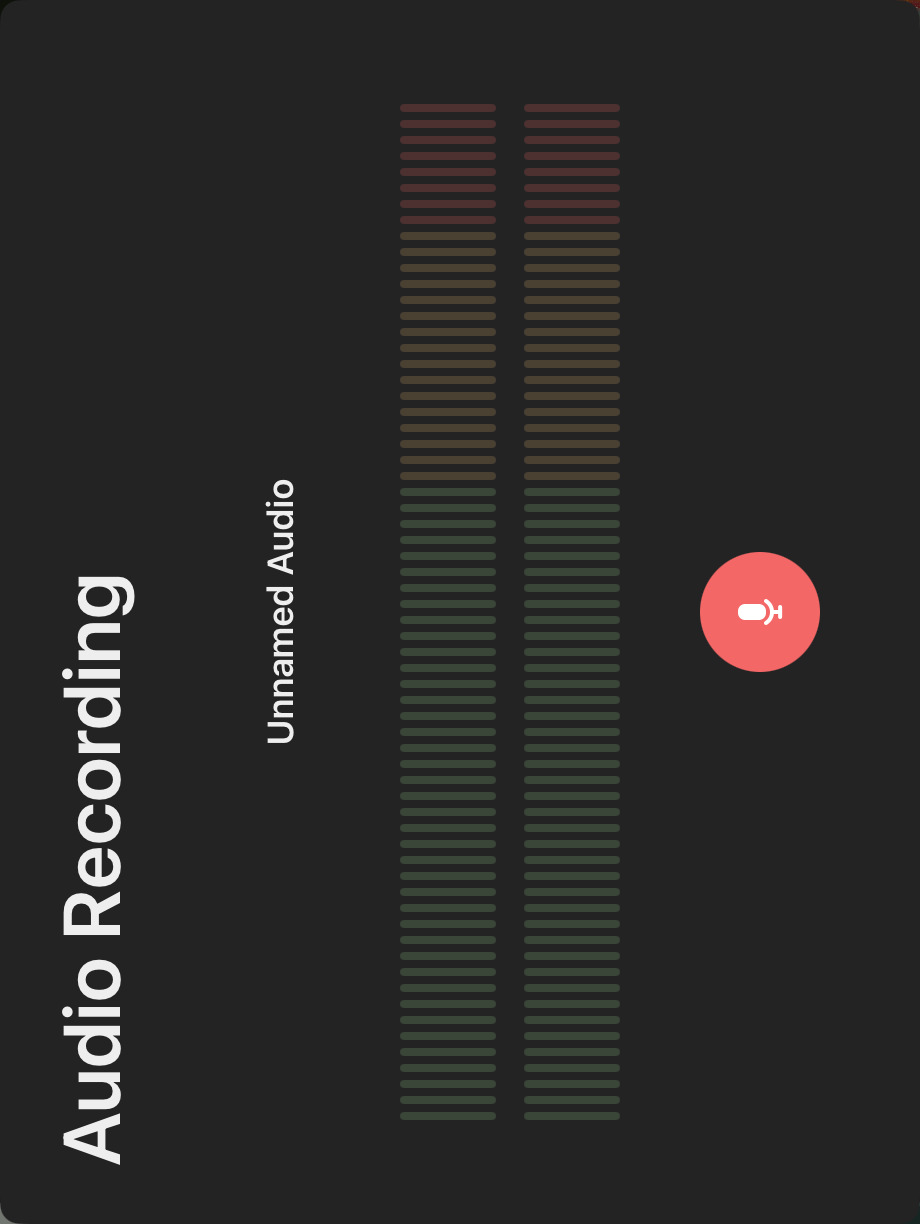
If you like, you can choose a name for the new audio clip by tapping on "Unnamed Audio".
Once you are ready, tap the red button to start the recording and then tap it again to stop recording once you are done. This immediately inserts the recorded audio clip into the timeline.
While recording, you can use the audio level meters to monitor your volume and ensure that the audio is not too loud or even clipping.
Note#
The first time you try to record audio in the app, you will be asked to grant ToonSquid permission to access your microphone. You can change this setting at any time in the iPad's Settings app under
Privacy & Security.
ToonSquid will only ever access the microphone when you are actively recording audio as described above. Whenever any app is accessing your microphone, an orange indicator will appear in the status bar at the top of the screen.
Properties#
Mute#
Audio layers can be muted entirely using the mute button (which is shown instead of the visibility button).
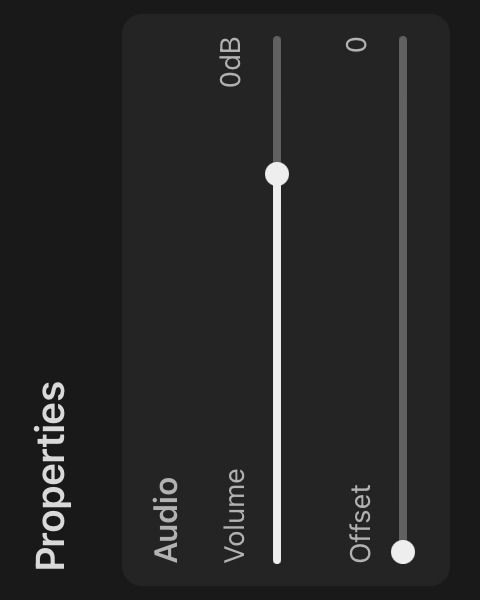
Volume#
Specifies by how many decibels the volume of the audio clip should be changed. Can be animated using keyframes.
Offset#
The number of (visual) frames worth of audio that should be skipped when the current clip starts playing. This is used to trim the beginning of an audio clip, since dragging the left retiming handle just shifts the audio clip in the timeline.
This offset is automatically updated when you split an audio clip.
Audio Settings#
Play Audio While Scrubbing the Timeline#
Whether the audio of individual frames should be played while you scrub through the timeline. This can be helpful when performing lip-syncing or when you are otherwise trying to sync your animation to an audio layer.
Disable this to only play audio during playback.
Split Audio Clip#
When an audio clip is selected, you can use the "Split Audio Clip" button to split the clip into two clips at the current frame.
Playback#
Audio will always play in real-time. Therefore, changing the frame rate of a clip that has an audio layer can lead to the audio going out of sync with the rest of the animation. Attempting to do so will show a warning.
Export#
You can choose whether you would like to include the audio from your animation in the exported video in the video export settings.
No search results