Keyframes
Keyframes
A keyframe is a value of a property at a specific point in time. Add keyframes to your layers to let ToonSquid automatically animate properties over time.
Many but not all layer properties support keyframes.

Keyframing Mode#

To start adding keyframes you need to switch the editor into keyframing mode. For this, tap the keyframing button in the timeline.
When the keyframing mode is enabled, the timeline shows layer properties and keyframes underneath the selected layer. You can configure the editor to also show keyframes in all layers in the timeline at once instead of just for the selected layer.
If an animation layer is selected, only the keyframes of the selected drawing layer inside the selected drawing are shown. If the layer has any effects, the properties and keyframes of those effects are also shown alongside the layer's own properties.
Keyframes are visualized in the timeline with a rhombus icon.
Automatic Keyframe Insertion#
By default, new keyframes are automatically inserted when a property is edited if either
- the keyframing mode is enabled
- the property already has more than 1 keyframe
Automatic keyframe insertion can be disabled in the settings.
Note#
By default, the keyframing mode does not just show you the keyframes of a layer, but also changes the editing behavior regarding automatic keyframe insertion, so make sure that you don't keep this mode enabled unintentionally.
When the first keyframe of a property is added, another keyframe is automatically added to the first frame of the layer as well so that the property animates between the two frames. This behavior can be disabled in the settings.
Manual Keyframe Insertion#
You can always manually add keyframes to a property using the following steps.
- Select one or more properties.
- Select the frame on which the keyframes should be added.
- Tap the
Add Keyframebutton at the bottom of the timeline.
Delete Keyframes#
Use the following steps to delete keyframes.
- Select one or more keyframes.
- Tap the
Delete Keyframebutton at the bottom of the timeline.
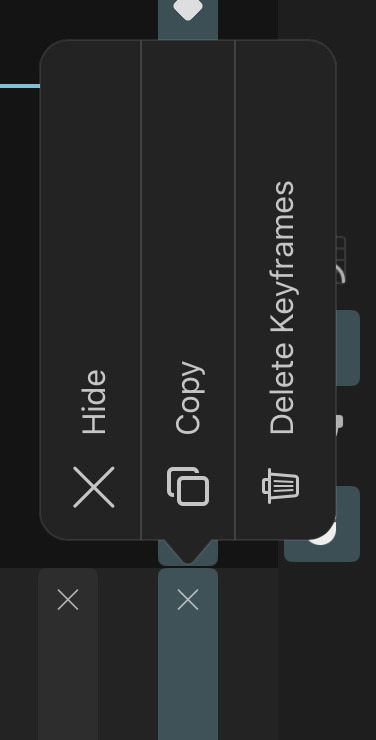
Alternatively, select a keyframe in the timeline, tap it again and select the Delete action.
You can also delete all keyframes of a property at once by tapping the selected property again and choosing the Delete Keyframes action.
Copy and Paste#
All keyframes of a property can be copied using the Copy action. Paste the copied data on a different property to overwrite its existing keyframes.
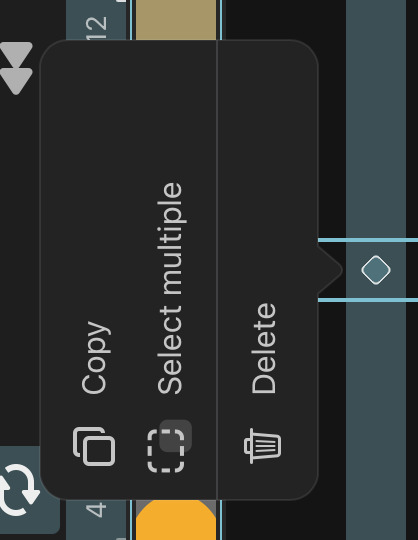
You can also copy a selection of keyframes using the Copy action on the keyframes.
Pasting the selected keyframes maintains their relative distances between each other. Pasting a keyframe on an existing keyframe overwrites the existing values.
Select Properties and Keyframes#
Properties and keyframes can be selected by tapping them once. Selected properties and keyframes are highlighted in the timeline.
Multiple properties can be selected just like layers by swiping them to the right and then letting go. Multiple keyframes can be selected similarly to drawings using a double tap and drag gesture.
When a layer has effects, the names of the layer and effects are also shown in the timeline above their respective properties. You can tap this name of the layer or effect to quickly select all of its properties.
Move Keyframes#
Keyframes can be moved using drag and drop, which also works for multiple selected keyframes at once. Similarly to when multiple keyframes are copied and pasted, dragging them also maintains their distance between each other (i.e. their timing).
Dropping keyframes onto other existing keyframes overwrites them, just like with copy and paste. Keyframes cannot be dropped in other properties.
Property Visibility#
By default, all keyframeable properties of a layer are shown in the timeline. You can hide the ones you don't want to see using the X button on the property.
Note#
It is important to remember that keyframes are still automatically added for hidden properties as well. If you find this behavior unexpected, you can disable it in the settings.
In order to show all properties again after you have hidden some of them, tap either on a property or on the layer and select Show All Properties.
Property Groups#
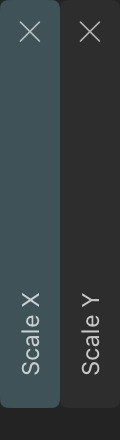
Some properties (such as Scale and Path Control Points) are multidimensional, which means that in reality they are groups of two or more properties.
Such property groups can be expanded into their separate properties using the Expand Property Group property action.
They can then be collapsed again using the Collapse Property Group action. When you edit a collapsed property group, your edits are automatically applied to all of the underlying properties.
When a property group is collapsed, it shows keyframes on the frames where any of its underlying properties have keyframes.
Position Property#
The Position layer property is a special case and is not a property group in the same way that is described above.
You can expand it into separate X and Y properties using the Expand X and Y property action. For normal property groups, this would only result in a visual change of how the properties appear in the timeline. However, doing so for the Position property has a consequence for the layer behaviour. Motion paths are not available for layers with split Position properties.
The two choices have different benefits and limitations:
Collapsed Position
You can use motion paths to animate a layer's position. Easing curves of Position keyframes apply to the position of the layer along the motion path curve segments. This makes it easy to create controlled movement along a curved path at constant or consistently changing speeds.
Expanded Position
You can animate the X and Y properties independently, position their keyframes on different frames, have a different number of keyframes and apply different easing curves to each value. However, you cannot use motion paths.
Separate easing curves can also make it a lot more difficult to achieve a constant movement speed along curved paths. It is therefore generally recommended to keep the Position property collapsed unless you need the additional fine-grained control over each dimension.
Looping Keyframes#
In order to loop keyframes, follow these steps:
- Select the group of keyframes that you want to loop.
- Tap any of the selected keyframes.
- Select the
Loopaction.
This will loop the selected keyframes until the next keyframe is reached.
The looping is performed using the Loop easing curve on the last keyframe of each property being looped. You can change this easing curve to remove the looping behaviour again.
If you choose to loop a selection of keyframes across multiple properties, the last selected keyframe defines the end of the loop cycle. New keyframes are automatically inserted on other selected properties on this frame if necessary in order for the entire selection to loop as a block in sync.
No search results