Layers
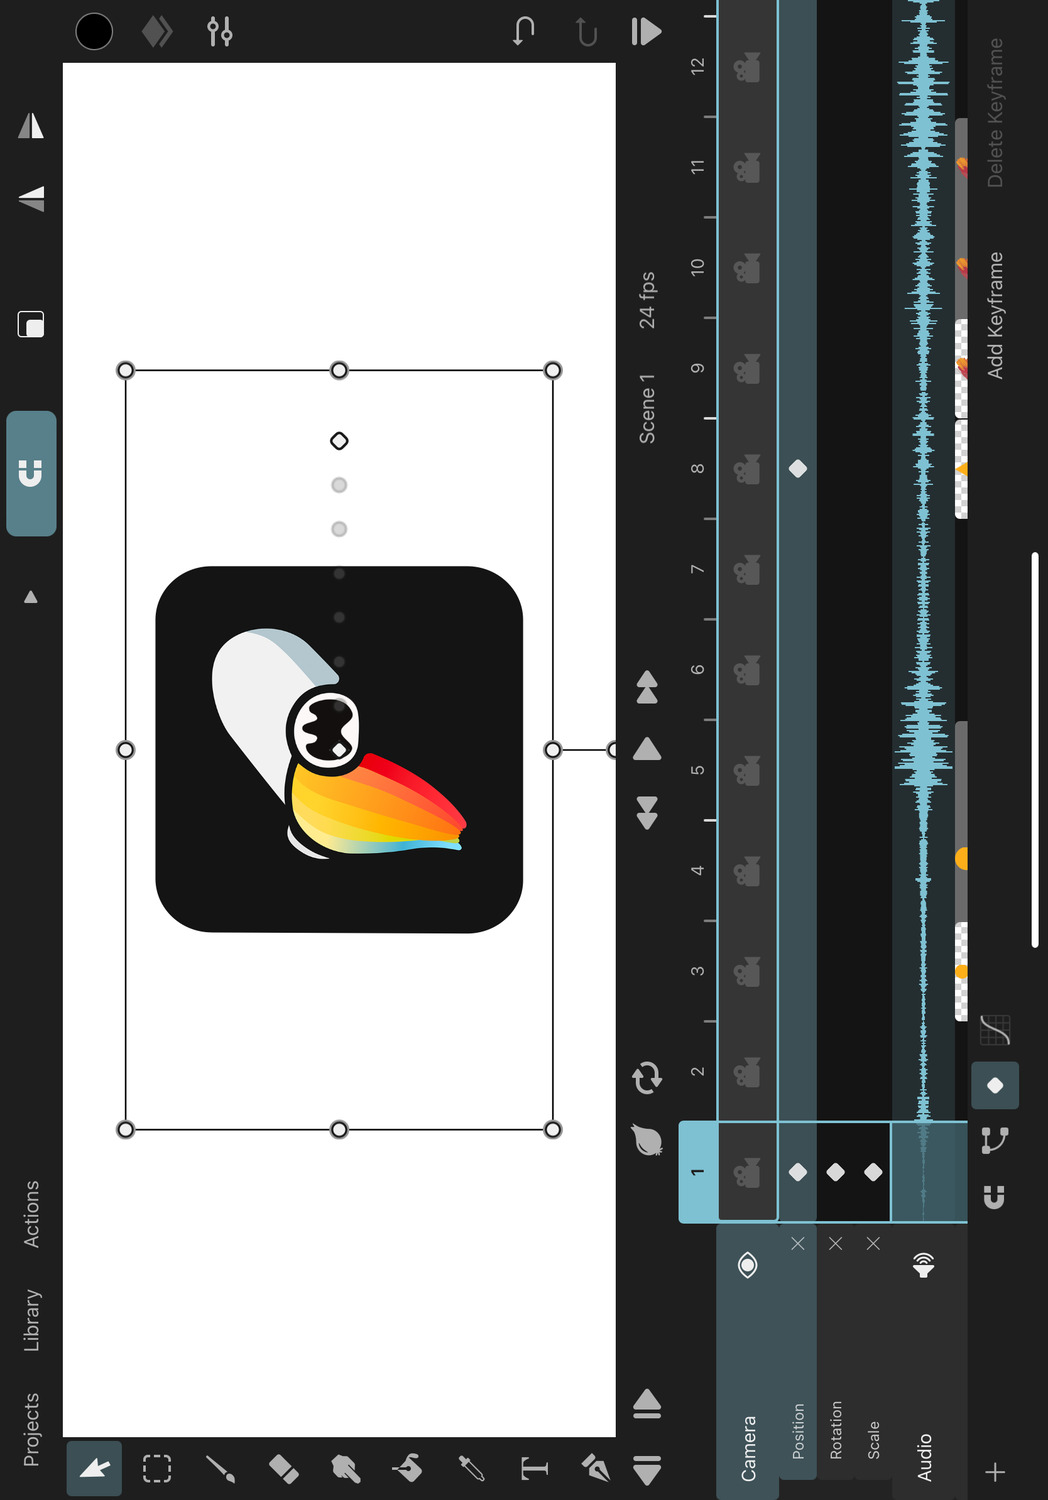
Camera
Add a camera layer to your timeline to define the visible region of your animation. Only this region will be visible in the final export and in every symbol that references the clip with this camera.
The camera is shown on the canvas as a rectangular outline.
The camera layer can only be selected via the layer list in the timeline and not by tapping the canvas.
There can only be at most one camera layer in each timeline.
Properties#
You can use the transform property of the camera to move the camera and even animate it over time like a normal layer. This makes it easy to create appealing camera movements without having to manually animate everything on the canvas to move in the opposite direction. Just add a camera and animate it instead.
Resolution#
Defines the size of the visible region of the camera layer in pixels.
When a clip with a camera layer is referenced by a symbol layer, the resolution property of the camera determines at what resolution the clip will be rendered in place of the symbol.
The resolution property is also used as the default resolution for the export, but this can be changed with the export settings.
Outside Darkening#
The outside region of the camera can be darkened to help focus your attention on the parts of the animation that will be visible in the final export.
Amount#
By how much the outside regions of the camera should be darkened.
Always Enabled#
Whether the outside of the camera should always be darkened during both editing and playback. By default, it is only darkened during playback.
Visibility#
The visibility of the camera layer only affects its visualization in the editor. Therefore, hiding a camera layer does not change the export behavior.
Delete the camera layer instead if you don't want it to be used during the export.
Reset Parallax Origin#
This button is only available if any layer in the current scene has a Parallax effect. It lets you reset the camera's parallax origin position.
After you press this button, no parallax offset will be applied to any layer with the parallax effect when the camera is at its current position.
No search results