Layers
Layer List
ToonSquid has two layer lists with the same basic interface. One shows you the layers in the timeline and the other shows the drawing layers in the selected drawing.
Add Layers#
Use the + button to add new layers. After tapping the button, you can choose which type of layer you would like to add.
When you add a new layer within a drawing, it is empty and has no specific type yet. Once you use a tool (e.g. the brush tool or the text tool) to draw on that layer, the layer automatically becomes one of the different types of drawing layers listed here.
If you have a group selected when you add a new layer, the layer is added inside the group.
Layer Order#
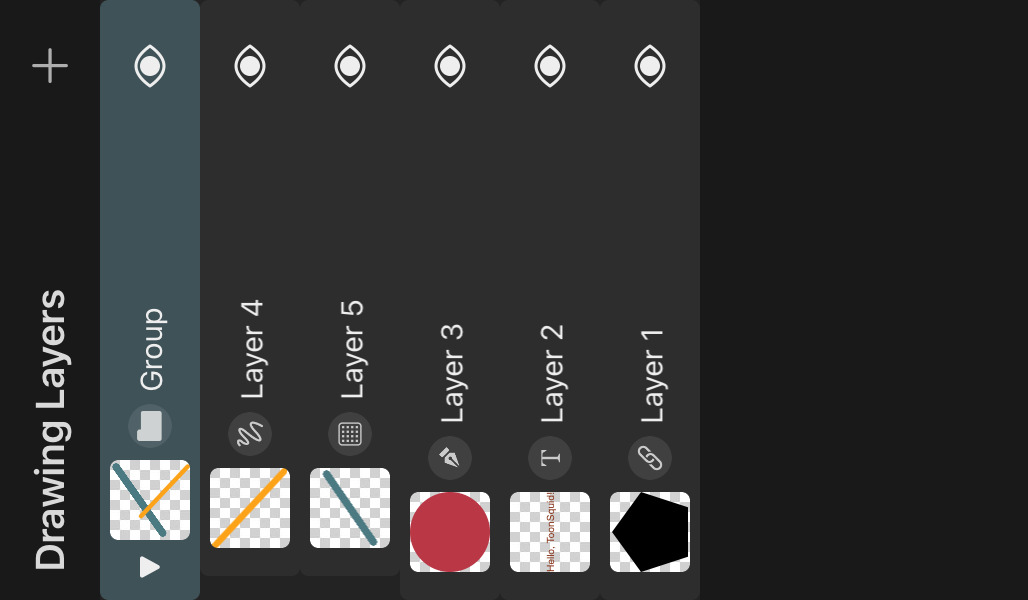
The layer list shows the order of the layers. The order of the layers in this list determines the order in which the layers are blended to form the final animation. In your artwork, lower layers appear behind layers that are further up in the layer list.
You can change the layer order by touching and holding a layer and then dragging it to its new position in the list.
If you drop a layer onto a group layer, it will be moved into that group.
Selecting Layers#
The layer list can also be used to select which layer you want to currently edit with the selected tool. Simply tap the layer that you want to select. The selected layer is highlighted in a different color than the other layers. You can edit the properties of this selected layer in the inspector.
You can also select additional layers, for example, to move them all at once using the transform tool. Swipe a layer to the right and then let go to add it to the selection. Repeat this gesture to remove it from the selection again.
Other editing actions that can be performed on multiple selected layers include deleting and locking.
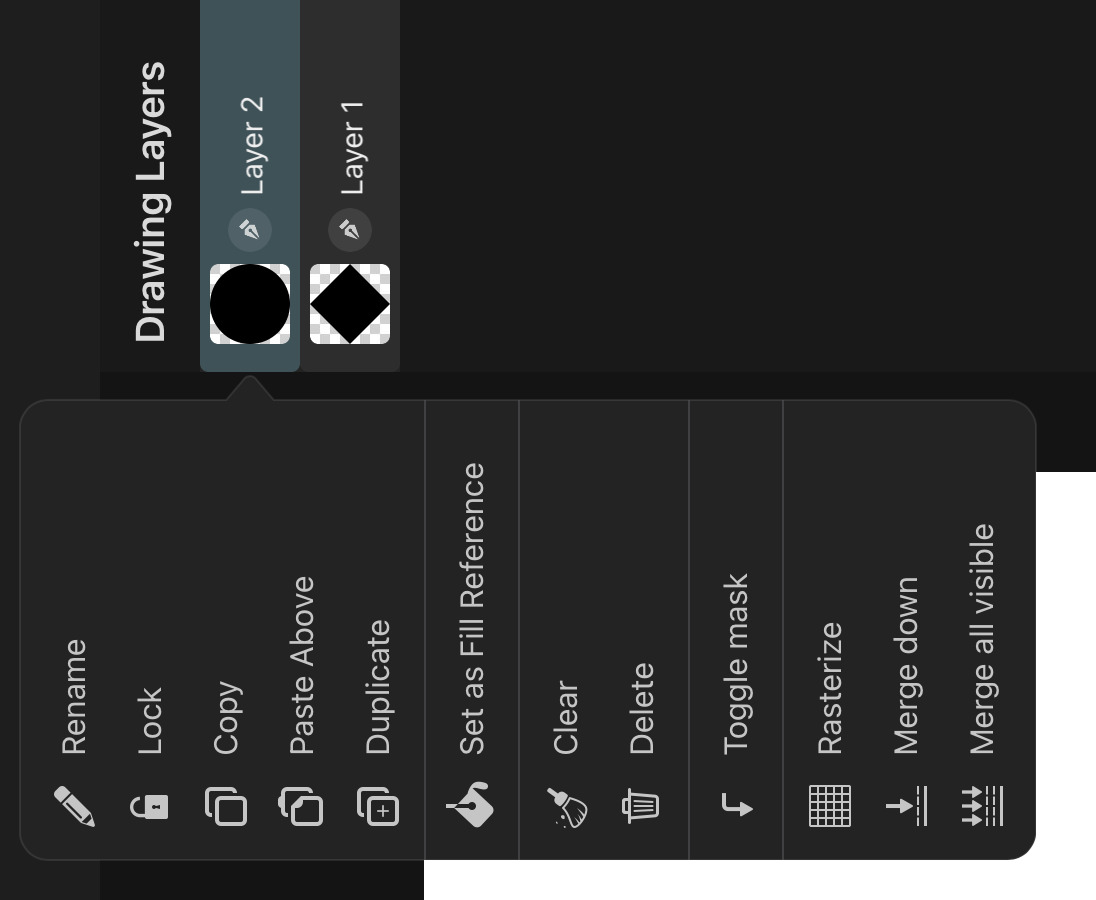
If you tap the selected layer again, you will see further actions that can be performed on this layer.
The options for locking, duplicating and deleting the selected layer can also be accessed quickly by dragging the layer to the left.
Visibility#

The visibility icon on every layer shows whether the layer should be visible or not. You can use it to completely hide the layer from the animation. When a layer is hidden, the visibility icon is greyed-out. Hidden layers cannot be selected on the canvas by tapping them.
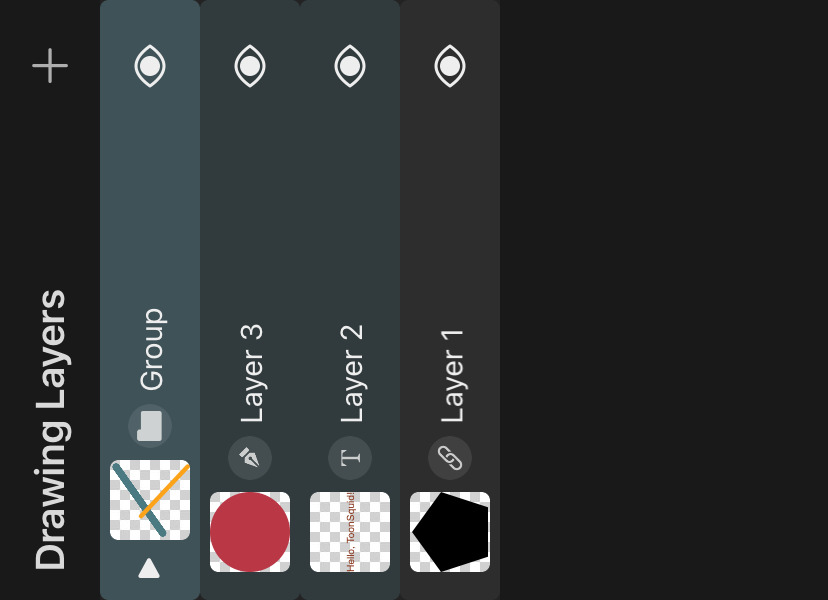
Hiding a group layer will also hide all layers inside that group.
The different tools will generally avoid editing hidden layers to prevent you from making accidental edits without noticing.
Thumbnail and Layer Type#
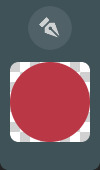
Drawing layers show a thumbnail of their contents.
The type of the layer is shown to the right of the thumbnail.
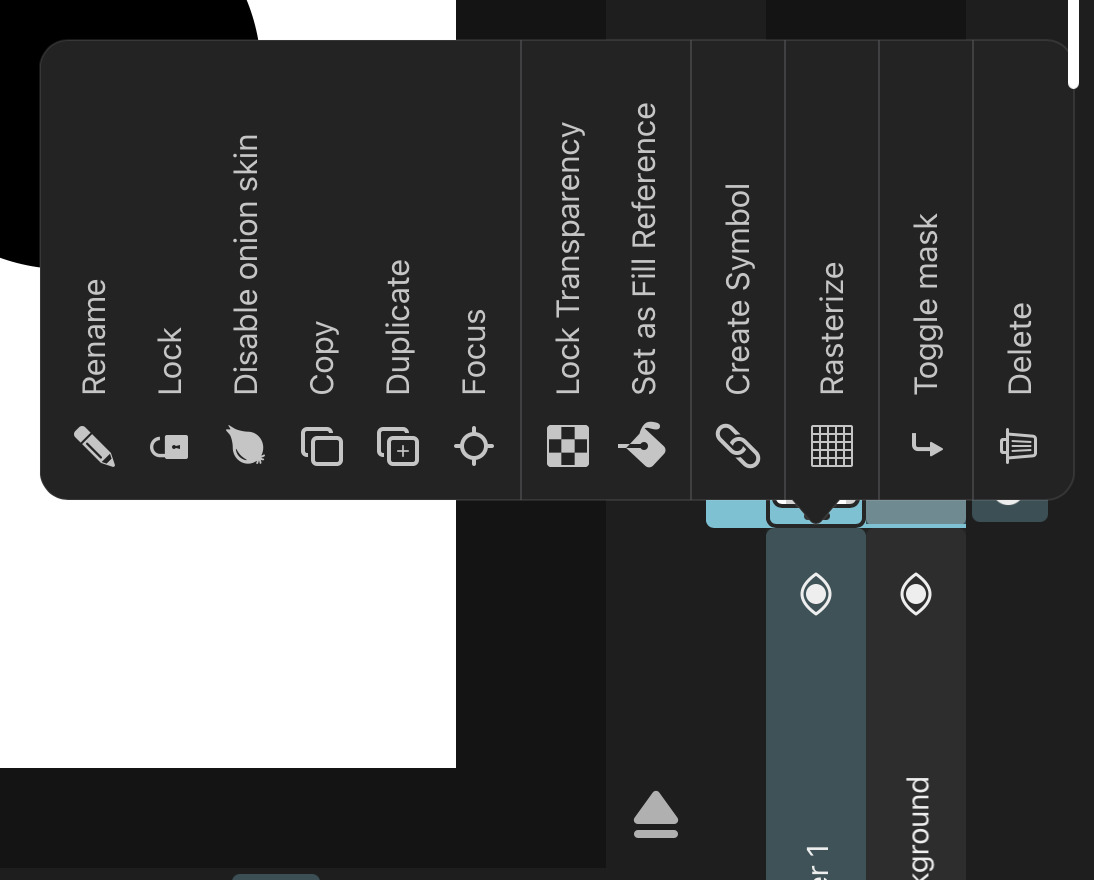
Layer Actions#
Tap the selected layer again to show further actions.
Rename#
Use this option to change the name of the layer.
Lock and Unlock#
Layers can be locked to prevent them from being edited accidentally. If a layer is locked, it shows a small lock next to the visibility button.
Locked layers cannot be selected by tapping on the canvas. Locked animation layers prevent any drawing and layer inside from being edited.
Copy#
Copies the layer so that it can be pasted somewhere else.
Paste Above#
Pastes the previously copied layers above the selected layer.
Duplicate#
Duplicates all selected layers.
Delete#
Deletes the selected layers.
Deleting a group layer also deletes all layers inside that group. And just like any other edit, deleting a layer is undoable.
Clear#
Removes all layer contents without deleting the layer itself.
If there is an active selection area and the selected layer type supports it, only the selected regions in the layer will be cleared.
For animation layers in the timeline, this option deletes all drawing layers from the drawings in the animation layer while keeping the timing of the drawings intact.
Masking#
Layers can be masked by each other's contents. Read all about masking and the available options here.
Rasterize#
Turns the layer into a pixel layer. In doing so, layers lose their vector functionality. Shapes and text that were previously in the layer won't be editable as such anymore.
The new pixel layer will contain the contents of the original layer on the currently selected frame. If the layer previously had keyframes to animate its contents, those are lost as well.
Effects that may be applied to the layer are not rasterized and remain editable after the layer has been turned into a pixel layer. You can rasterize effects as described here.
Merge Down#
Merges the selected layer and the layer below into a single layer, replacing the original two layers.
- If the layers are both vector groups with an opacity of 100%, a
Normalblend mode, no effects and are not being masked to other layers, then their contents are merged into a new vector group. - If the layers are both vector layers with an opacity of 100%, a
Normalblend mode, no effects and are not being masked to other layers, then their contents are merged into a new vector layer. - If the layers are both path layers with matching visual properties (fill, stroke, opacity, blend mode etc.), no effects and no keyframes and are not being masked, their shapes are combined into a single path layer. If the visual properties don't match, the path layers are merged into a vector layer Otherwise, the layers are rasterized and merged into a pixel layer.
When merging animation layers in the timeline, the drawings in both of the layers are merged together. How exactly the drawing layers inside of these drawings should be merged depends on various properties of the layers themselves, as well as the Drawing Layer Merge Behaviour setting.
By default, the drawing layers remain as separate layers if they contain animated properties. Otherwise, they are merged into a new layer, which follows the same rules as the regular drawing layer merging described above (i.e. vector contents remain vector contents if possible).
However, the following situations force the drawing layers to be rasterized and merged - no matter which merge behaviour setting was chosen - in order to maintain their visual appearance after the animation layer merge.
- Either of the animation layers has an opacity that is not 100% or a blend mode that is not
NormalorPass Through. - The animation layers are masked to each other.
- Either of the animation layers is part of a transform hierarchy.
- A drawing layer has a keyframe animation and the merged drawings have different starting frames.
Merge All Visible#
Merges all visible layers and combines them into a new layer. The original layers remain unmodified.
- If the layers all contain vector contents (vector layers, vector groups or path layers) and can be merged into a vector layer, a new vector layer with the combined contents is created.
- Otherwise, if the layers are all vector groups with an opacity of 100%, a
Normalblend mode and are not being masked to other layers, then their contents are merged into a new vector group. - Otherwise, the layers are rasterized and merged into a pixel layer.
Edit Clip#
This option only exists for symbol layers. Opens the clip referenced by the symbol layer in the editor
Lock / Unlock Transparency#
This option only exists for pixel layers and animation layers. Locks the transparency of all pixels in the layer to not be modifiable by the brush or fill tool.
When set on an animation layer, the setting applies to all pixel layers in all drawings of the animation layer.
Set as Fill Reference#
Defines this layer as the reference layer for the fill tool. This allows you to use the fill tool on a separate layer while limiting the fill regions based on the contents of this layer.
Create Vector Group#
This option only exists for vecgtor layers. Converts the selected vector layer into a vector group.
Create Vector Layer#
This option only exists for vector groups that can be converted to vector layers. Converts the selected vector group into a vector layer.
Timeline Layer Actions#
Only layers in the timeline have the following actions:
Enable Onion Skin#
By default, onion skins are only shown for the drawings of the selected animation layer, but you can also manually enable it on individual animation layers if you want to see onion skins on multiple layers at once.
Layers for which onion skinning is enabled regardless of their selection state show a small onion skin icon next to their name.
Focus#
Brings the layer contents on the current frame into view on the canvas.
Create Symbol#
Creates a symbol from the selected layers.
Rasterize#
You can rasterize the entire contents of one or multiple selected animation layers into a frame by frame animation.
This will create a new animation layer with separate drawings on each frame. Each drawing will contain a single pixel layer with the combined rasterized contents of the selected animation layers at that frame. Note that only the region of your canvas defined by the project resolution will contain any visible content after rasterization. Any animation outside of this region will not appear in the new pixel layers.
The original layers remain in the timeline and are automatically set to be hidden.
No search results